

My husband graciously went out and bought the supplies I needed after we got home. While he was out I did some research online and started to wonder if this would work... from what I'd seen online Kool-Aid dyeing ONLY worked with a protein (animal) fiber and not a cellulose (plant) fiber like the 100% Maya. Trusting the yarn store owner to know better than me, I went ahead and began the Kool-Aid dyeing process (I used the microwave method). When I rinsed out the yarn, the color rinsed out too and I ended up with a yarn that was almost the same white as the original yarn! I tried again using a much higher concentration of dye and again it didn't work. Feeling discouraged I set it aside for the day.
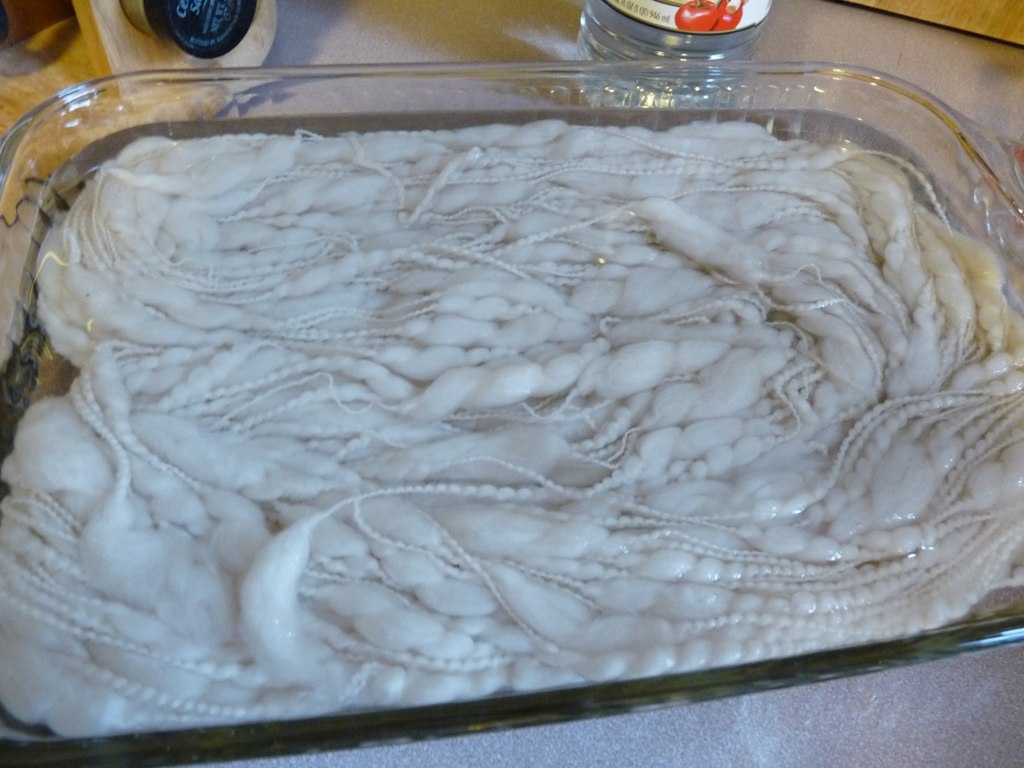
The next day I did some more research and found that for cotton yarn you needed a different type of dye. I went to JoAnn's and got some Rit dye (it was on sale... bonus!) in Petal Pink, Fuscia, and Tangerine. I started by soaking the yarn in hot water while I prepared the dyes.
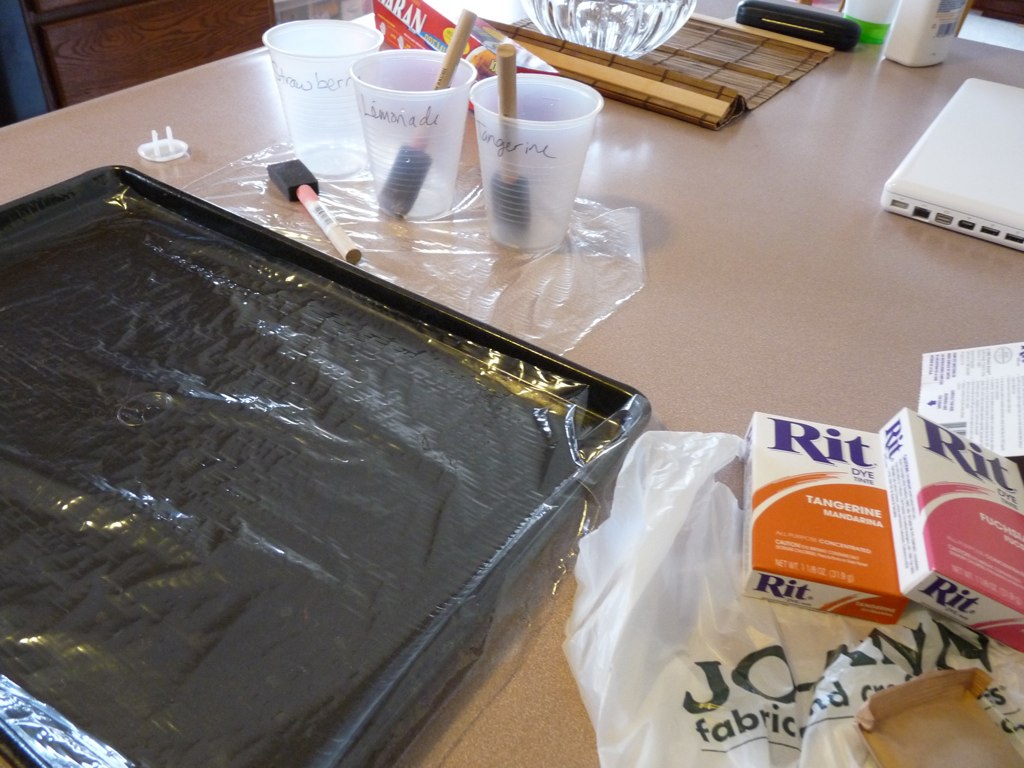
I mixed the dyes to a very dilute solution with hot water. Next I squeezed the yarn out gently, placed it on a cookie sheet covered with saran wrap, and painted the colors on using sponge brushes.

When the colors were distributed how I liked, I covered it with more saran wrap and then sealed the whole thing with Glad Press 'n' Seal to make it air-tight then left it overnight to soak up the color. The next morning I rinsed it out with hot water till the water ran clear, then rinsed with slightly soapy - dish soap - water, then rinsed with hot water again. I squezed out the excess water and laid it out on the clothes drying rack to dry with a large dish underneath to catch any drips.
I started to get really nervous at this point because the yarn looked really bad. The colors were ok, a little brighter than I wanted, but the slubs looked really bad.... all squished up and felted looking. I was discouraged and figured that all my messing about with the Kool-Aid had ruined it. I couldn't wait for the yarn to dry on its own so I started drying with with a hair dryer - figured I couldn't make it worse! Turns out that as the yarn dried, the slubs puffed out and looked much better. In fact, by the time the whole skein was dry, it looked pretty good. There are a few slubs that are messed up from all the squishing and painting it went through, but when they're knitted up you don't notice, and if you did, I could cut those out. The finished product is quite pretty :)
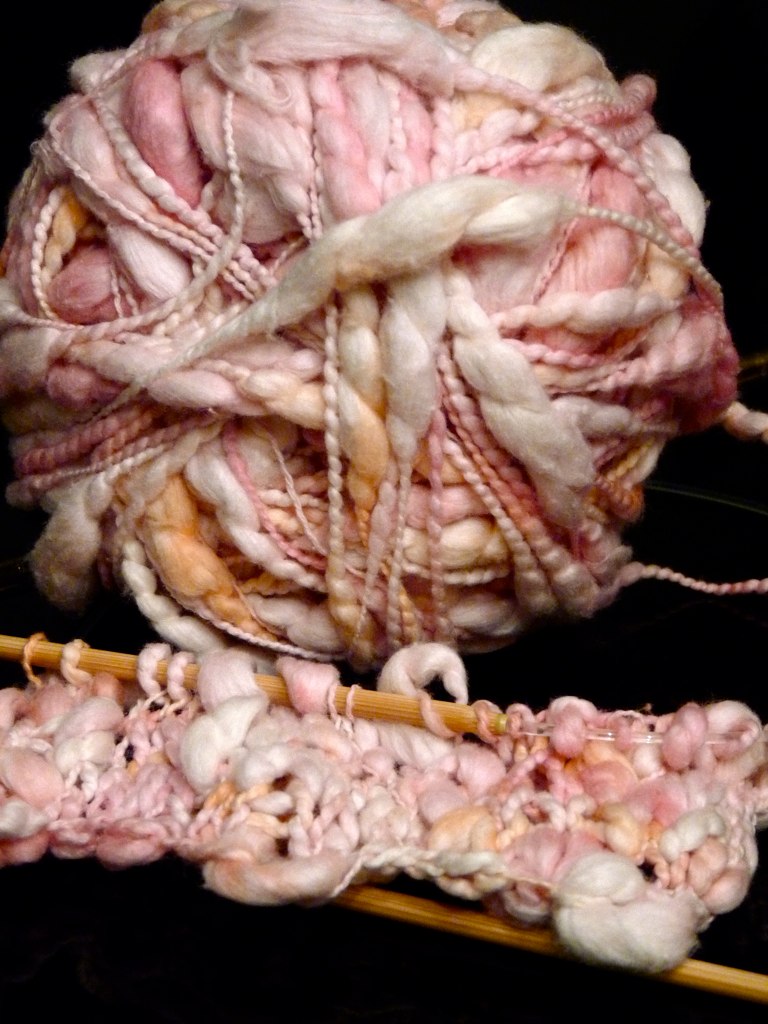
I think it looks best knit up on a size 8 needle... we'll see how it looks in a finished product!

Why ever would you post this? Now it makes me want to try! LOL!
ReplyDeleteSeriously, I love the color combo and it look so soft and subtle. Can't wait to see how it turns out!
-Andi
The dyeing turned out beautifully! I'm so impressed! Its absolutely gorgeous!
ReplyDelete