
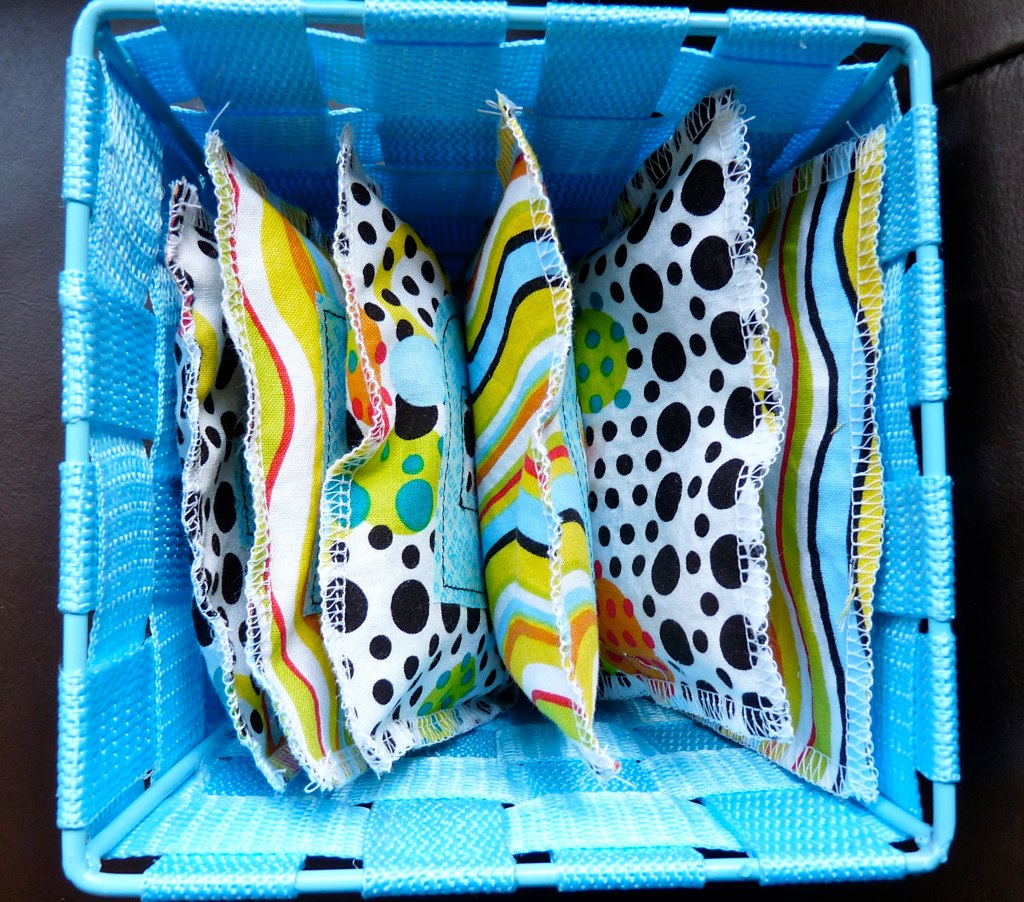
I have seen multiple sets of beanbags around the internet (easy tutorial here), and thought they looked like such a fun and easy project. Now it just so happens I got a serger for an early Mother's Day gift (woo hoo!) and have been trying to think of reasons to use it. I figured serging the seams instead of straight stitching and turning would save time and give me a chance to play with my new toy! We decided to spell out the birthday boy's name since it was a great even number of letters - 6.
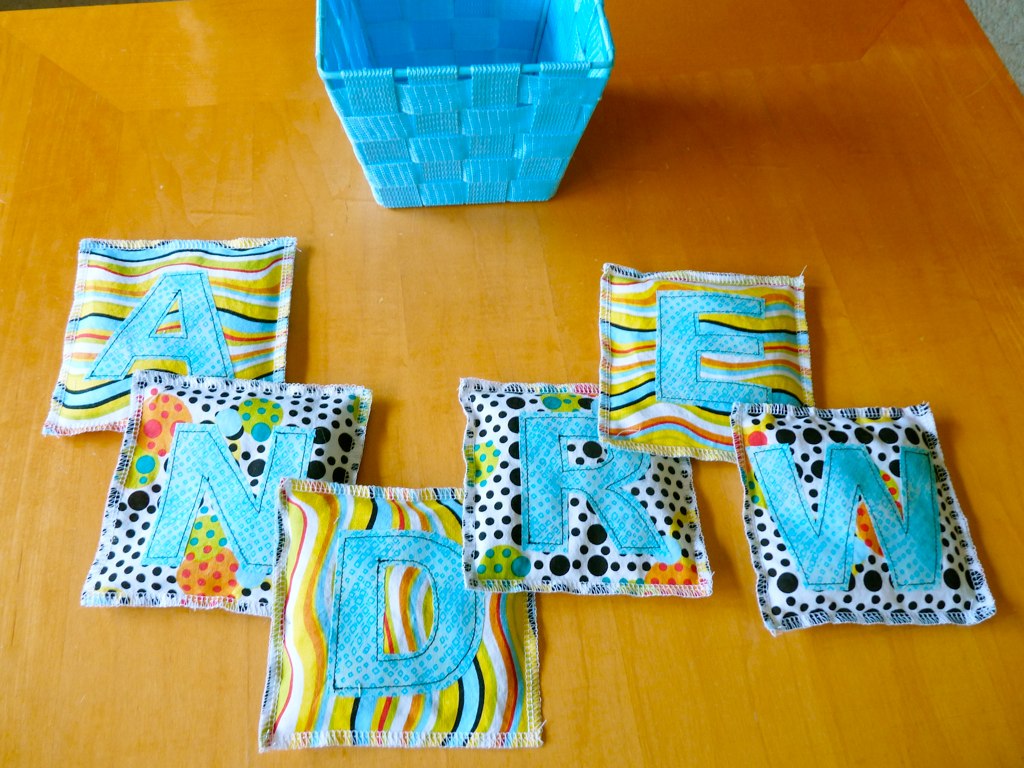
I used 2 different fabrics for the bags, cutting out 6 5"x5" squares of each. I cut the letters out of an almost solid blue and used Steam-A-Seam2 (sheets of fusible webbing) to secure it on the right side of each of 6 squares of fabric, alternating between the stripes and dots. I straight stitched around the letters to be certain they would stay firmly attached to the bags. Then I simply placed the squares wrong sides together, serged 3 of the 4 sides, filled it with beans (black-eyed peas, to be exact) and serged up the final edge. My son picked out a cute basket at JoAnn that was just the right size to hold the bags and will make a fun place to throw them in!

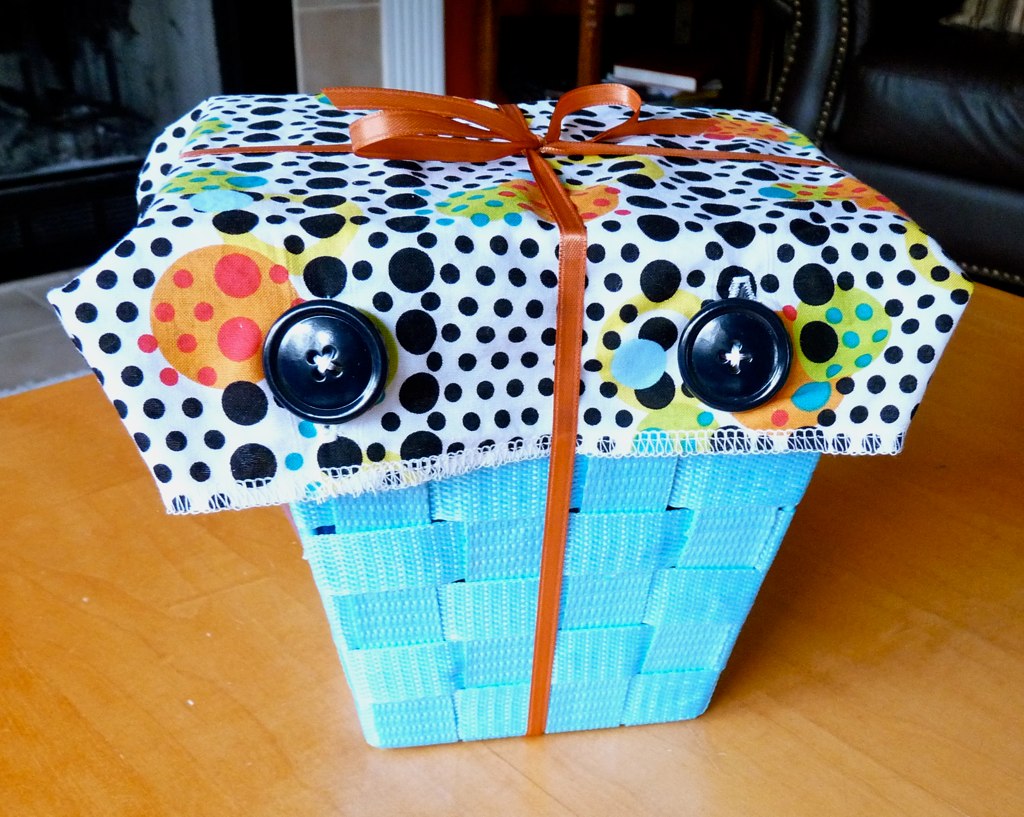
Now if you've even gotten a gift from me, you will probably know that I rarely use wrapping paper. I had seen on a blog somewhere the idea to use fabric to wrap gifts, and I thought that was such a cute idea! The basket looked great on its own, but was no where big enough to hold the Lego Star Wars set my son had picked out for a gift. I had a large section of the dot material left over, so I doubled it over, right sides together serged up the two sides, turned it right-side out and serged around the open end (yes, I know, probably more serging than was necessary, but c'mon, its a new toy!).

Then I used my trusty Brother sewing machine to sew some button holes and put on some buttons and, voila! a reusable gift bag that matched the rest of the gift :)

We tied the whole thing together with ribbon, tucked in a card, and headed out to a great evening with friends.
You make gifts from us mere mortals pale in comparison. Stop it.
ReplyDelete:)
Wow, those beans bags are awesome! I wish I had had something like that as a kid. Looks like you've mastered the serger already!
ReplyDeleteI just LOVE the idea of a bag to wrap the present!!! And the buttons to close it - perfect! If only I had a dedicated sewing room (you make me want one!), I'd be doing this every time!
ReplyDeleteI'm so happy to have found this post, because I recently bought a second-hand serger and have been looking for easy projects to start with. I've made similar beanbags with number appliques for my son but sewing and turning them right-side-out, but this is much quicker!
ReplyDelete