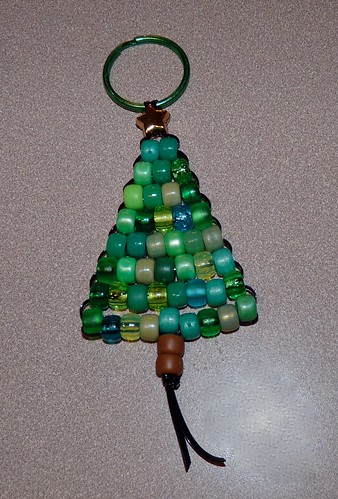
My kids and I worked on a project for their teachers' Christmas presents today and I thought I'd share a quick tutorial with you. This little keychain is quick and easy to make and requires only a few materials.
Materials: (for each keychain)
1 Keychain ring
1.5 yards flat plastic lacing or satin cord
1 star bead
2 brown pony beads
44 green pony beads
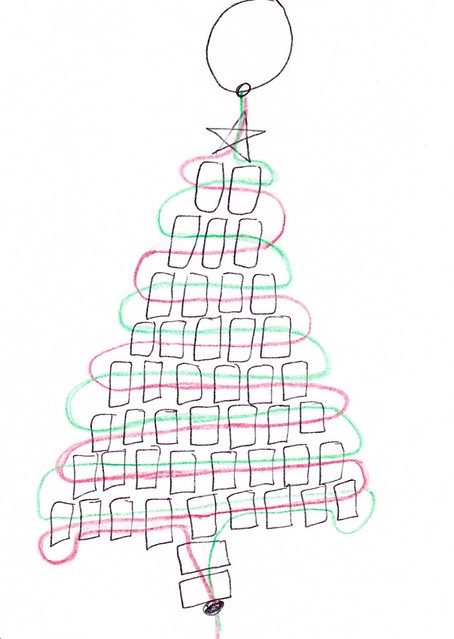
Start by folding the cord/lacing in half and attach it to your keychain using a lark's head knot (see this link for more info: http://www.ehow.com/how_13480_make-larks-head.html). I drew a quick diagram of how to string the beads but following that I will write out an explanation to the best of my ability! I didn't take pictures of the progress, but hopefully it will make sense. The two colors (red and green) represent the two free ends of the cord/lacing once its been attached to the keychain ring.
Row 1: String both free ends through the star bead.
Row 2: String 2 green beads on one of the free ends (represented by the green line in the above diagram). Then insert the other free end (represented by the red line above) back through those two beads so that you have the green line sticking out of one side and the red line out of the other. Pull both free ends until the beads are tight against the star bead, being cautious not to pull too tight.
Row 3: String 3 green beads on one of the free ends and repeat as above.
Rows 4-8: Continue in this pattern, adding one extra bead per row.
Row 9: String 9 green beads on one of the free ends and repeat as above. When the beads have been pulled tight, take one of the free ends and, skipping the first bead, insert into the second third and 4th beads and pull out between 4th and 5th beads. Repeat on the other end. Pull the ends to tighten up the Christmas tree. String both free ends through two brown beads, pull tight, and tie several knots, making sure the knot is large enough to prevent the beads from slipping off.
I learned a little trick from knitting that actually paid off for our project. If you are using the plastic lacing you can help the project lay flat if it is getting bunched up by holding it in the steam from a boiling teapot. When the plastic is hot it will relax and you can pull and stretch it and lay it flat and when it cools it will stay much nicer. If it doesn't work the first time, try it again!
The Christmas tree is not the only project we've done, we also made penguins yesterday using this pattern with the addition of a row of blue "ice" below his feet. The projects are limitless. Using your imagination you could probably design something for any occasion. My 5 yr old had a bit of trouble doing this completely on her own, but my 6 1/2 yr old got the hang of it very quickly :)
Tuesday, November 30, 2010
Monday, November 22, 2010
Fishy Business
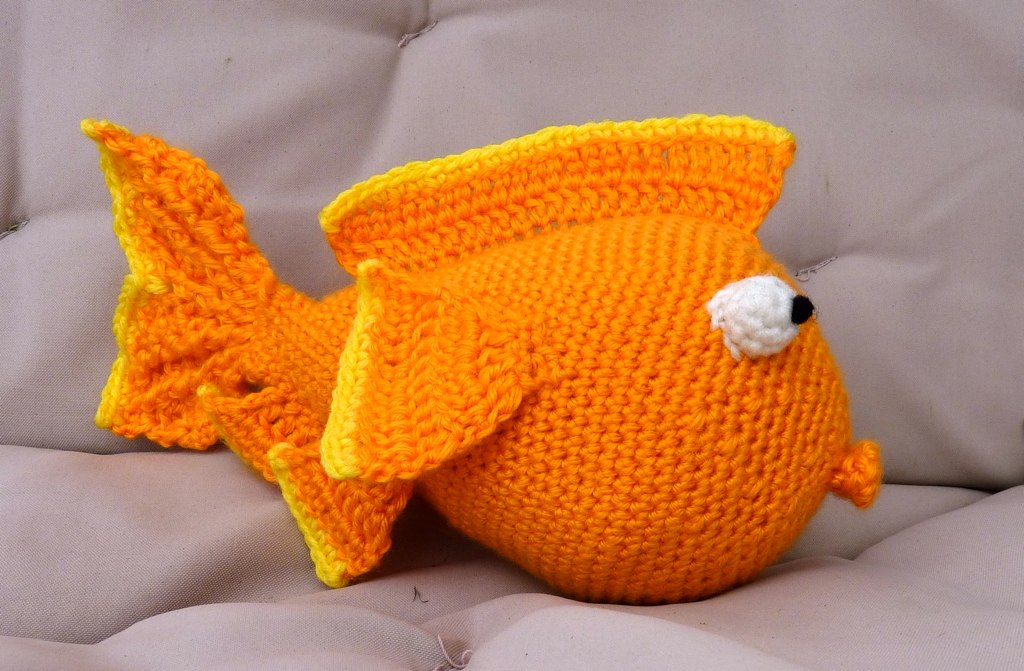
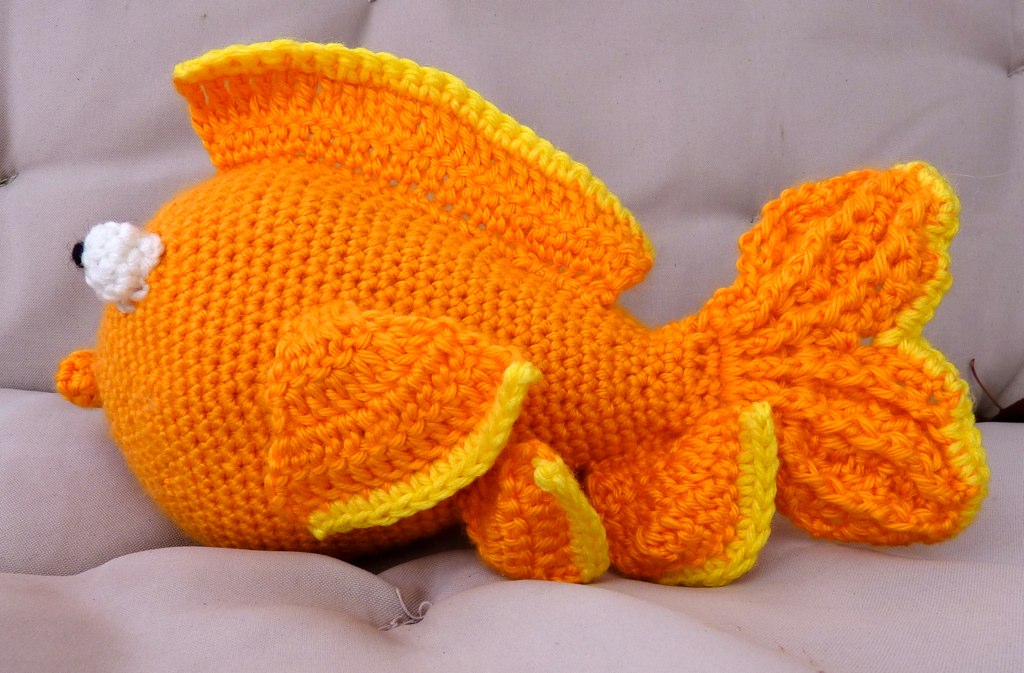
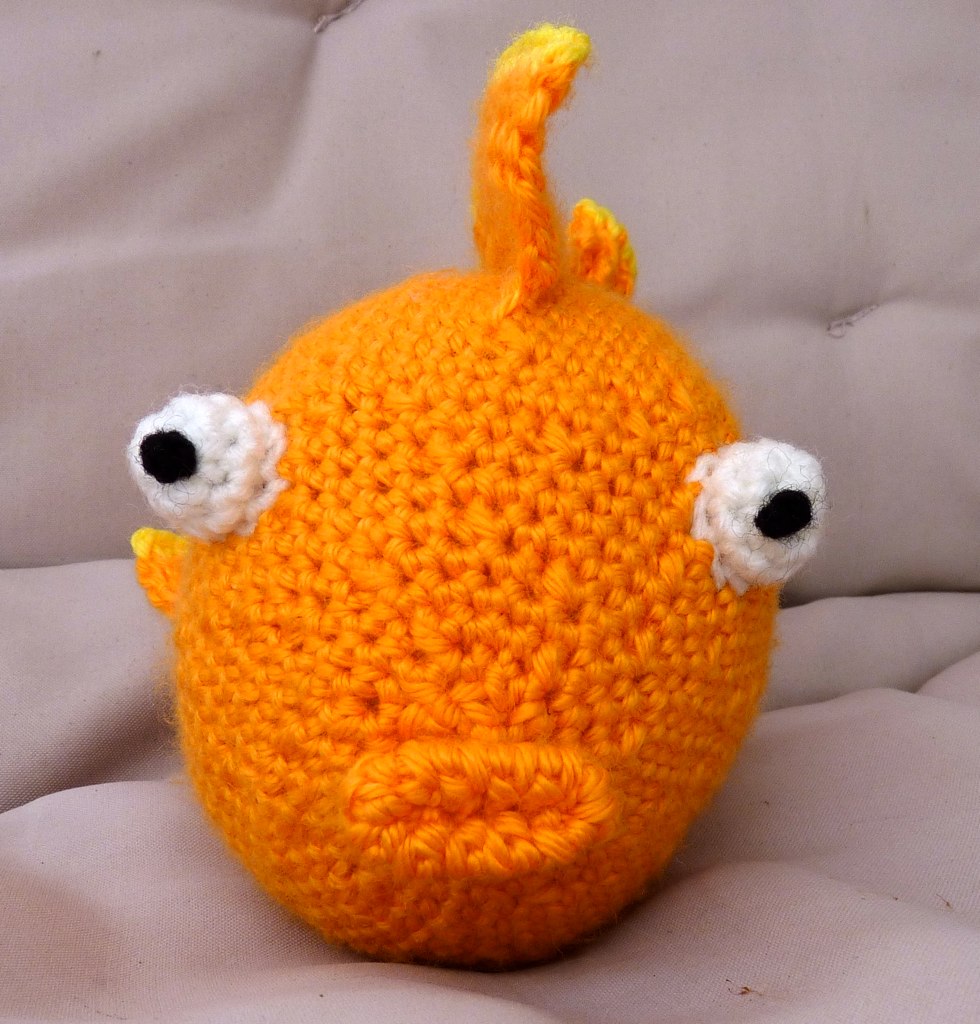
My son's best friend has a goldfish, Goldie. He is very fond of this fish, and to honor the beloved pet his mom asked me to make a goldfish stuffie for her son for Christmas.
I couldn't find a pattern out there for a goldfish so I had to improvise. I had so much fun putting together this little guy - from the fishy shaped body, to the ribbed tail and multiple fins, to the bulging fishy eyes!
I'm really happy with how he turned out! and the addition of the smooching fish lips as suggested by the client really pulled it all together. I'm sure this will be a much better playmate than the real thing :)
Friday, November 12, 2010
Lots O' Hats!
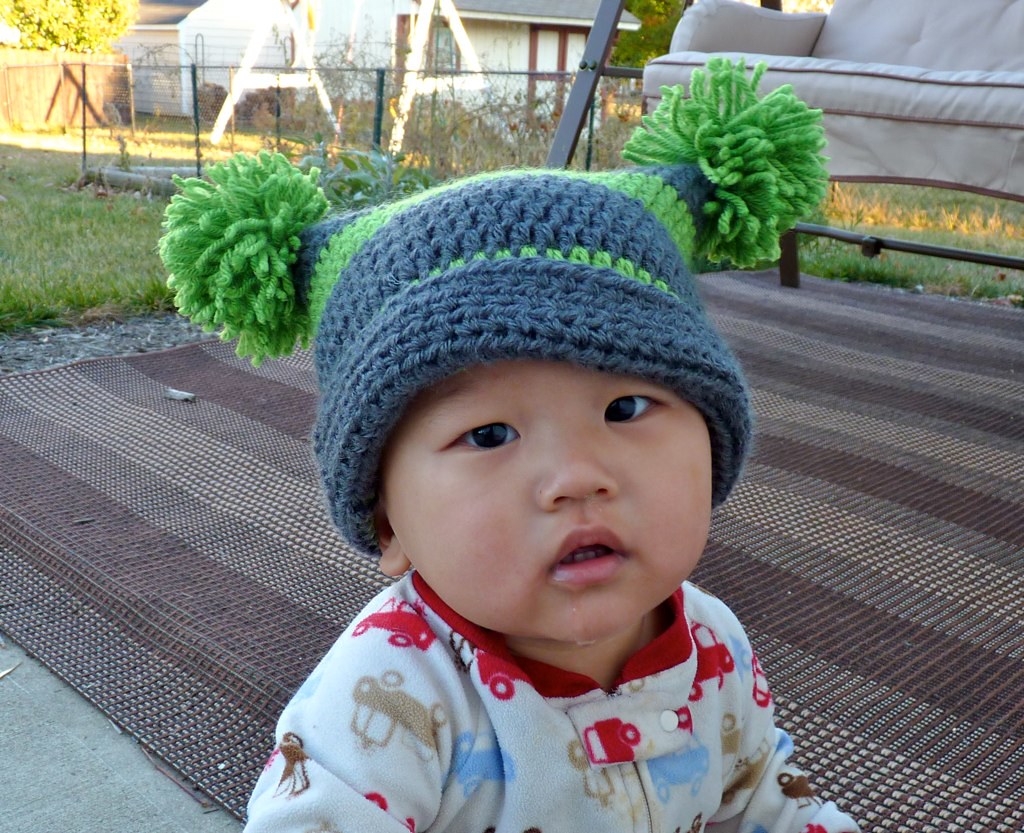
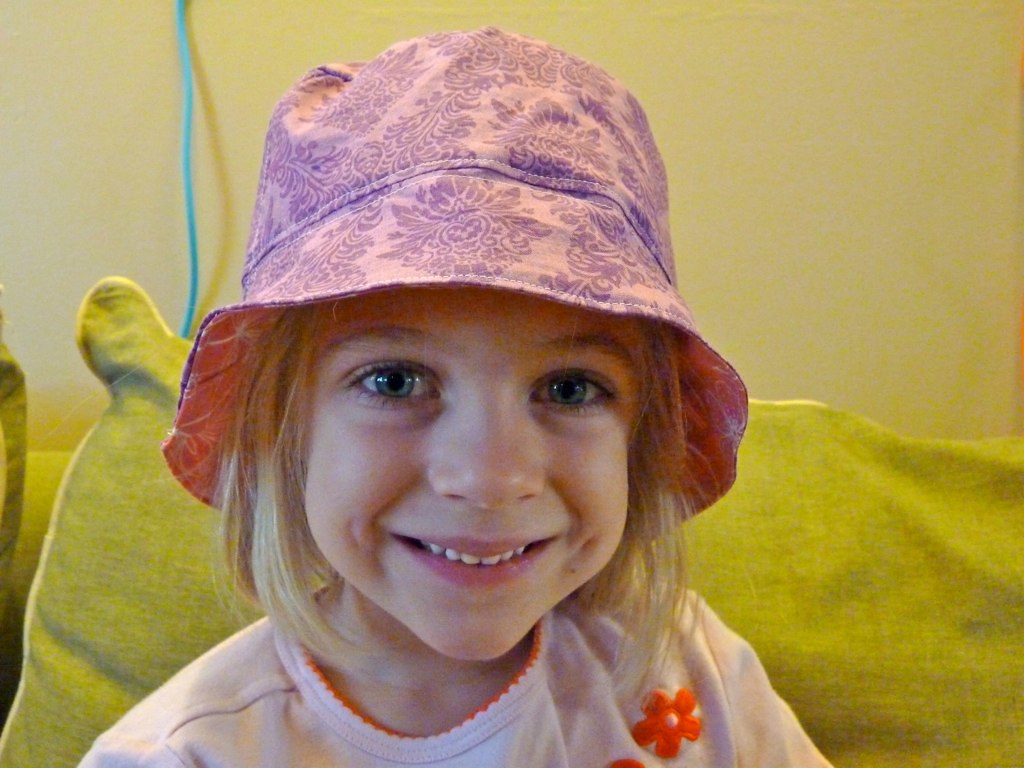
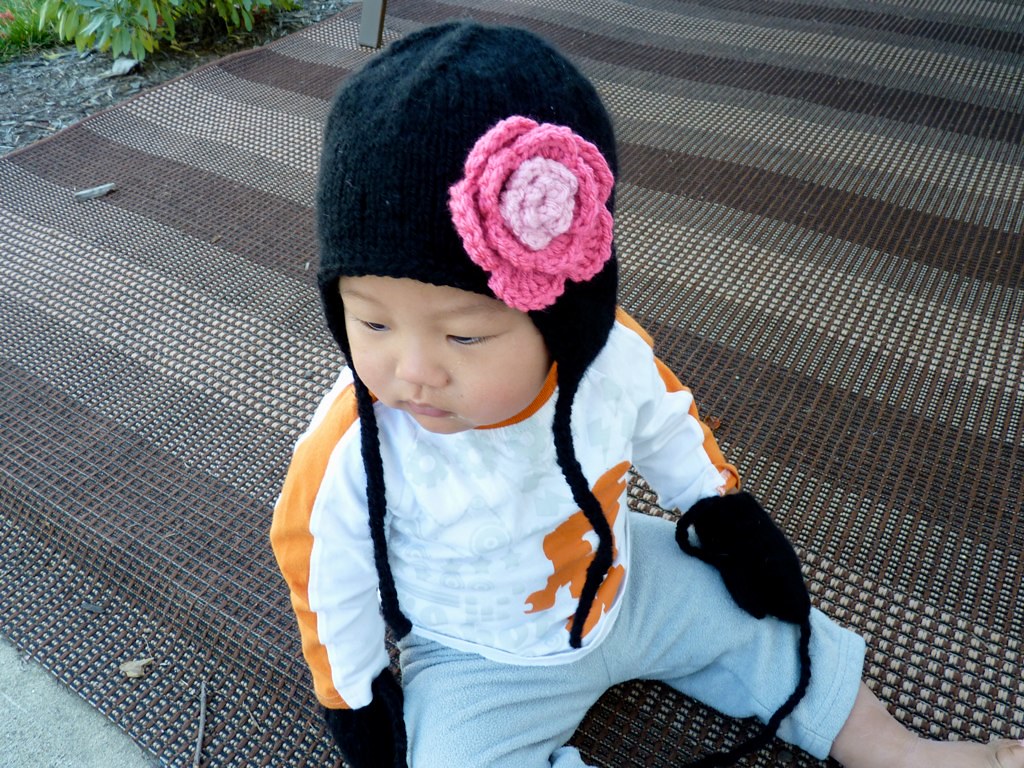
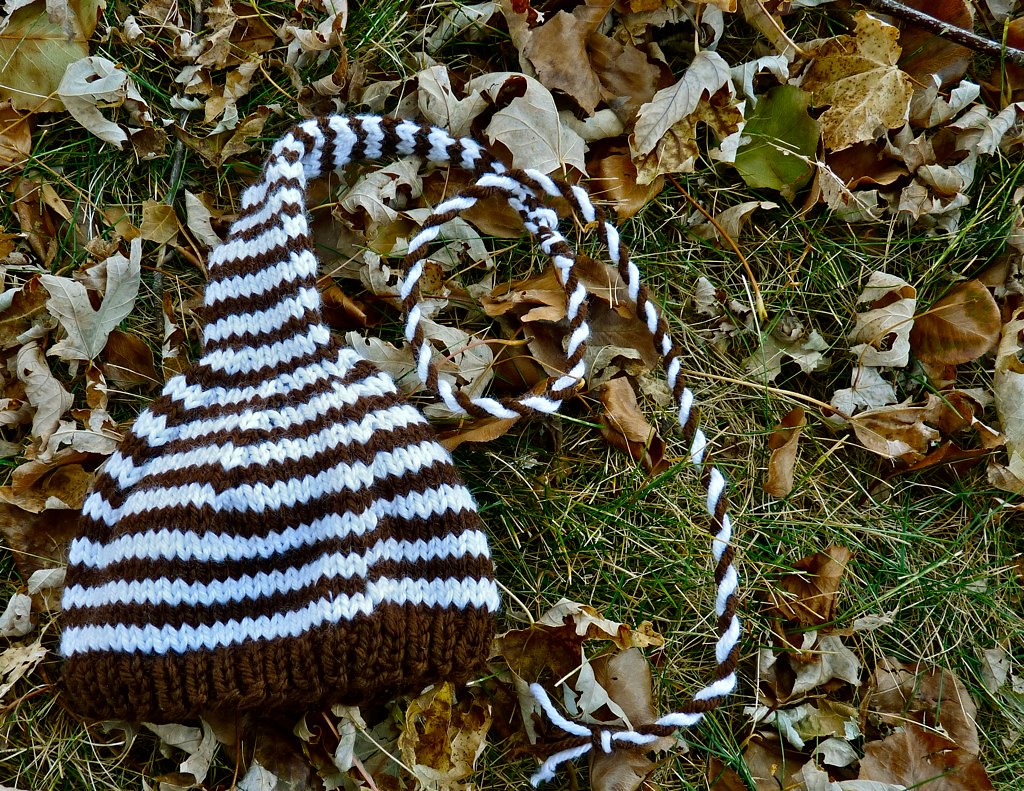
In fall everyone's looking for a good hat to keep their little ones' ears toasty. I've had a variety of different orders lately with lots of fun colors! I'm pretty lucky to have several in-home hat models to test out my sizing on, and to just enjoy the cuteness of these little toppers :)
Sunday, November 7, 2010
Owl Hat
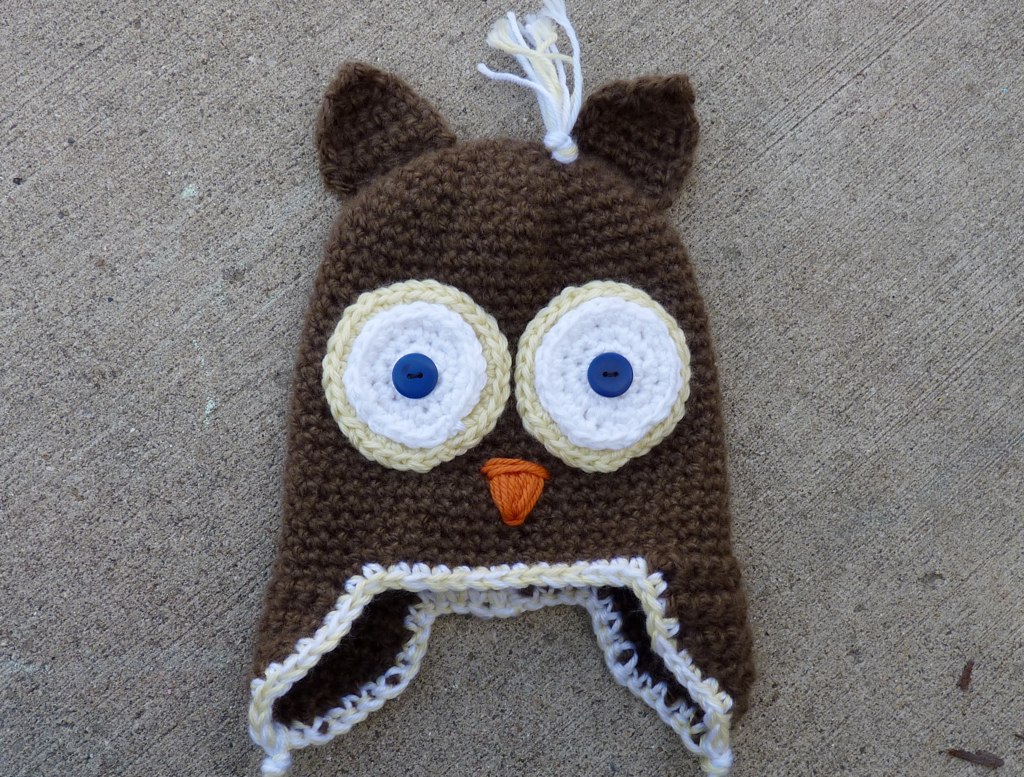
I recently had a request for an owl hat to be used as part of a little boy's Halloween costume. I thought the idea was brilliant, and couldn't believe I hadn't done something similar for one of my own children in the past! Looking on Etsy I found a super cute pattern that allowed the user to sell items made from the pattern (not always true!). While the pattern wasn't as thorough as I am used to I was able to complete the hat and make it look just like the example. I was thrilled with how it came out! It was made with a bulky yarn and is super soft and should be VERY warm, which is good since it was so cold at Halloween this year :)
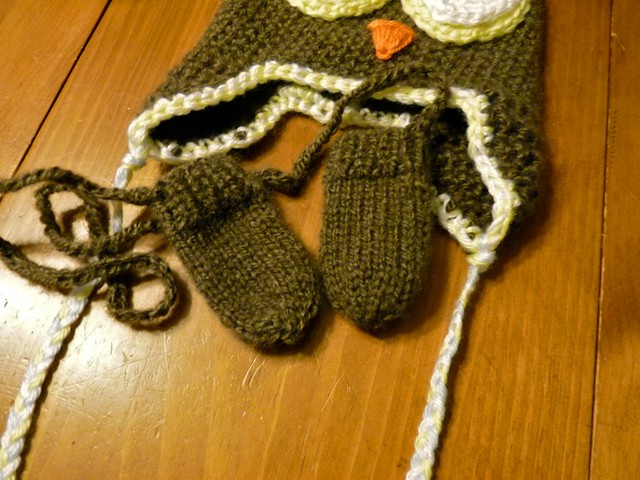
The customer also requested some mittens made from matching yarn. We chose to go with a thumbless mitt because of the age of the baby, and it had a connecting cord to keep those little mitts from getting lost when baby inevitably pulls them off!
The customer also requested some mittens made from matching yarn. We chose to go with a thumbless mitt because of the age of the baby, and it had a connecting cord to keep those little mitts from getting lost when baby inevitably pulls them off!
Subscribe to:
Comments (Atom)

