Thursday, May 27, 2010
Teacher Gift
I made an extra special teacher gift for my son's Kindergarten teacher this year. She did such a great job with Eli and worked extra hard to make sure he had a great year. I wanted to make sure she knew all her hard work was appreciated, especially as this was her first year teaching!
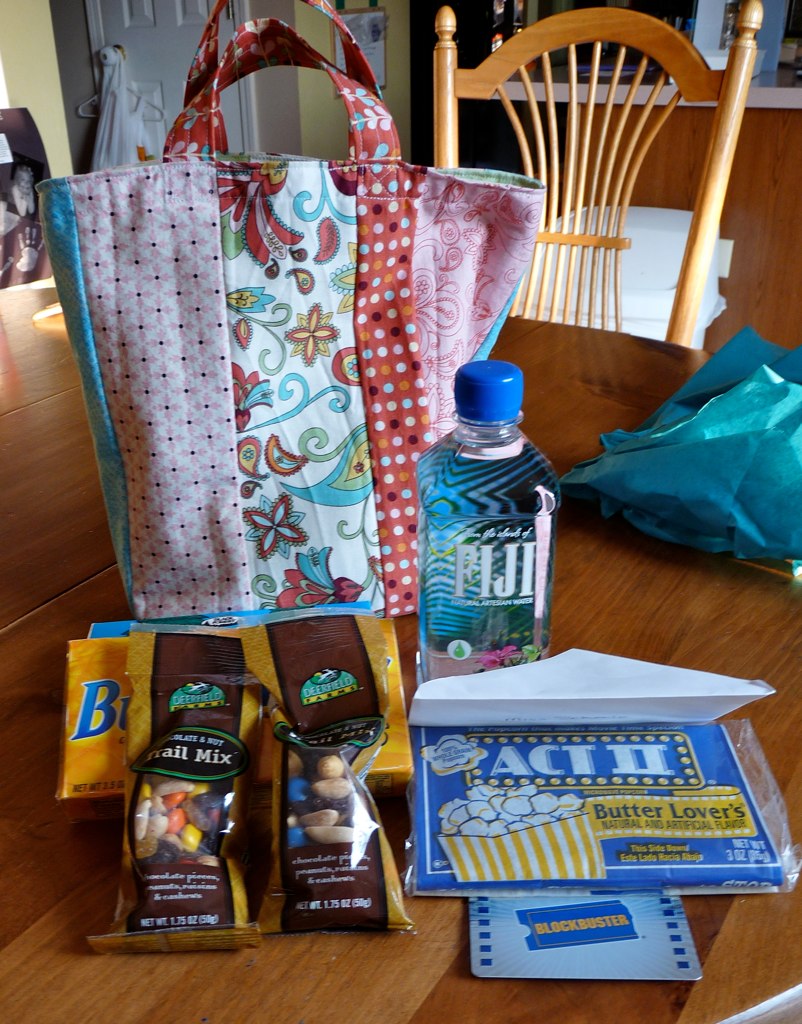
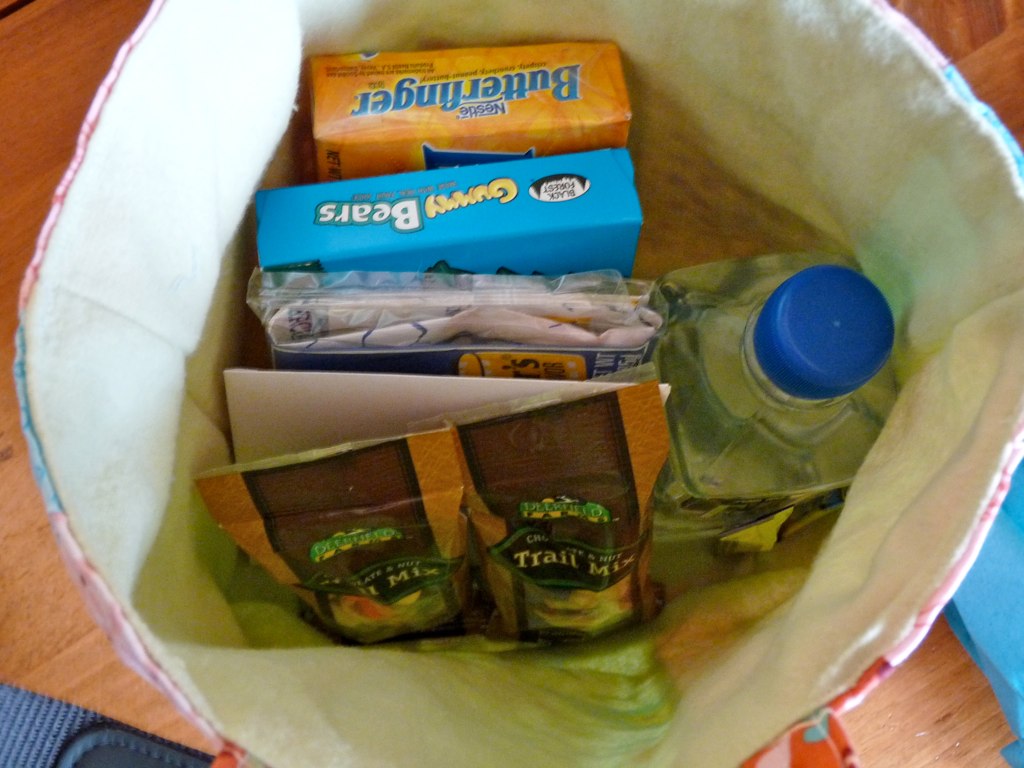
I had seen the idea on a blog somewhere to make a "movie night" gift bag and thought it was so cute! We got some microwave popcorn, movie theater candy, trail mix, a bottle of water, and a gift card to Blockbuster.
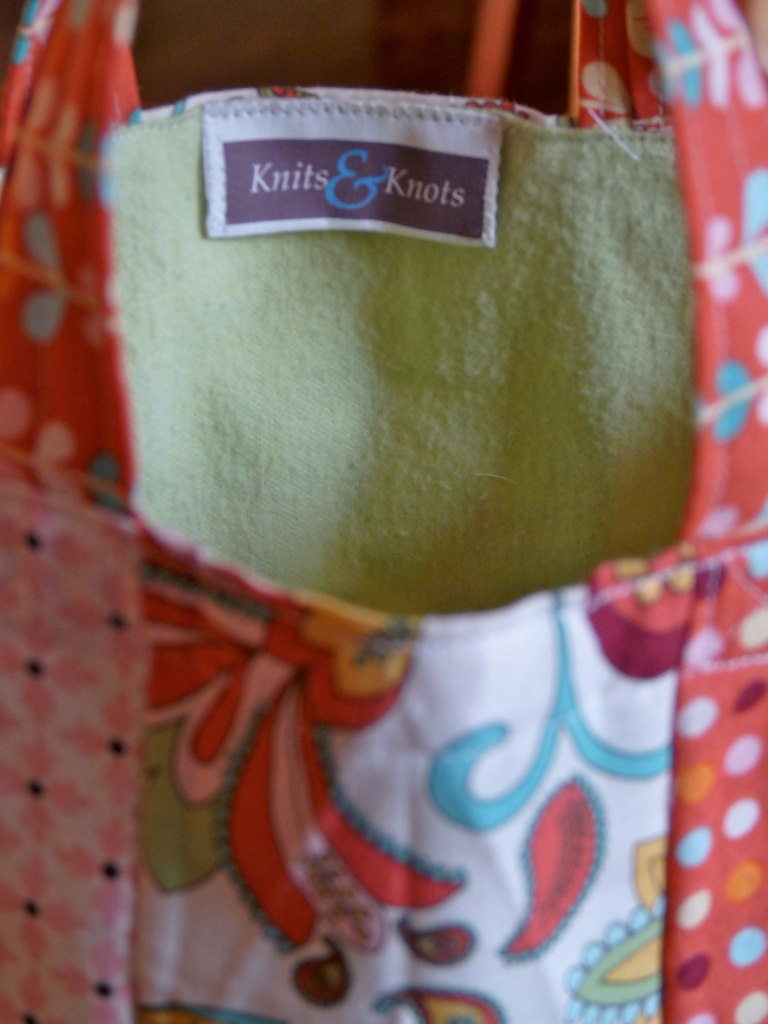
I put it all in this little tote that I made from leftover scraps from my most recent project. I lined the tote with some soft but sturdy felt to give it a little stiffness and to hide all the seams from piecing the project together.
Tuesday, May 18, 2010
Featured Photographer - Raindancer Studios
I have been having a great time getting to know some local, and not-so-local photographers in the last few months. I recently started making props for infant/newborn photography, and have met some amazing people! I thought it might be fun to do a feature on my blog about the different photographers that I've been working with, starting with Jill Reid from Raindancer Studios.
Jill Reid is one of the people I most admire. Her family suffered a tragic accident in 2008 that left them with no income and lots of hospital bills. Through it all, she had the support of family, friends, and her faith; and in 2009, at the urging of her supporters, she decided to turn her love for photography into a way she could support her family. She says "God inspired me through this season to look deeper for beauty and goodness in the midst of pain and struggle. The following quote has been my mantra for 2008 and 2009 and the very thing God has used to keep my heart soft and open: 'Life is not about waiting for the storm to pass. It’s about learning to dance in the rain.' Photography reminds me to see beauty amidst the ashes...to dance in the rain."
Jill has an amazing ability to photograph the spontaneous interactions of a family in a way that beautifully captures the love they have for one another. She is constantly trying new things and always surprising her customers with the outcome! If you're in the Indianapolis area and looking for a family, newborn, or maternity photographer, consider Raindancer Studios. I am certain you won't be disappointed!
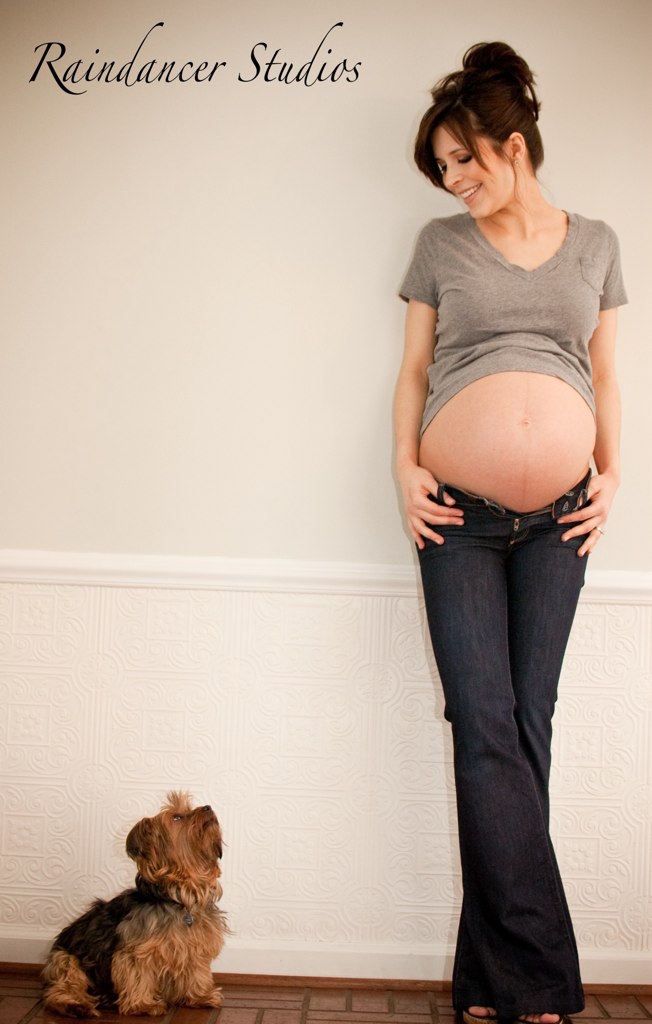
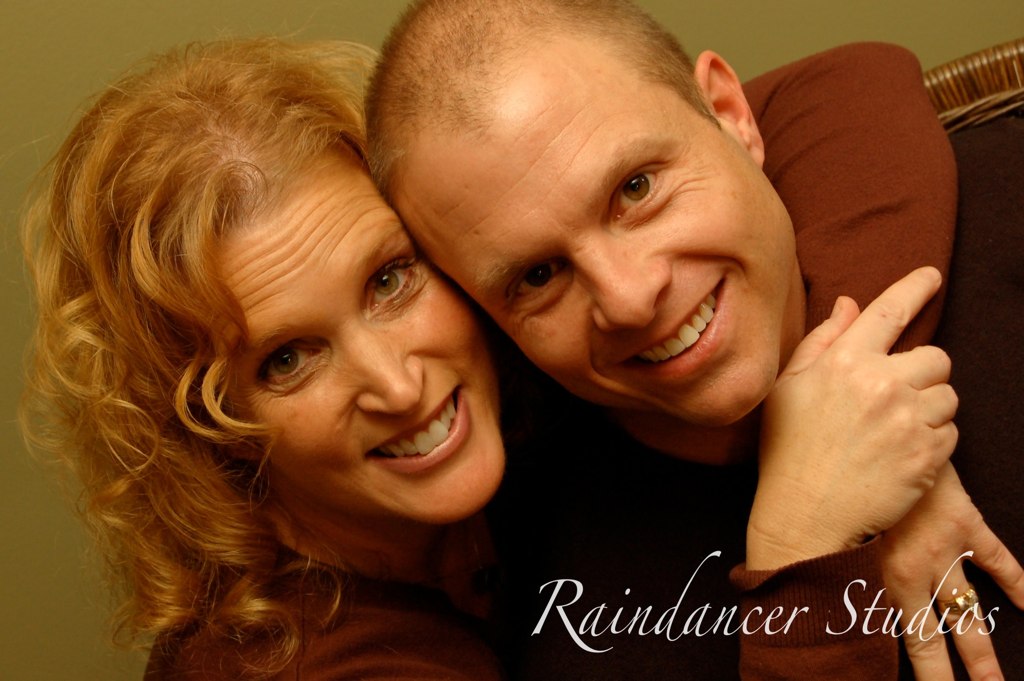
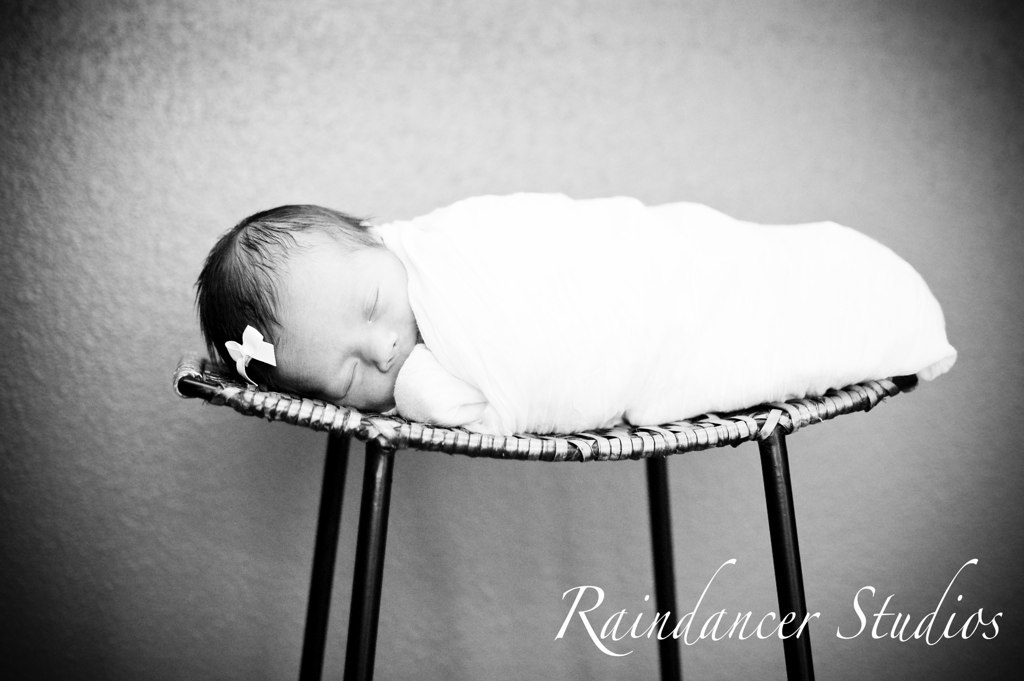
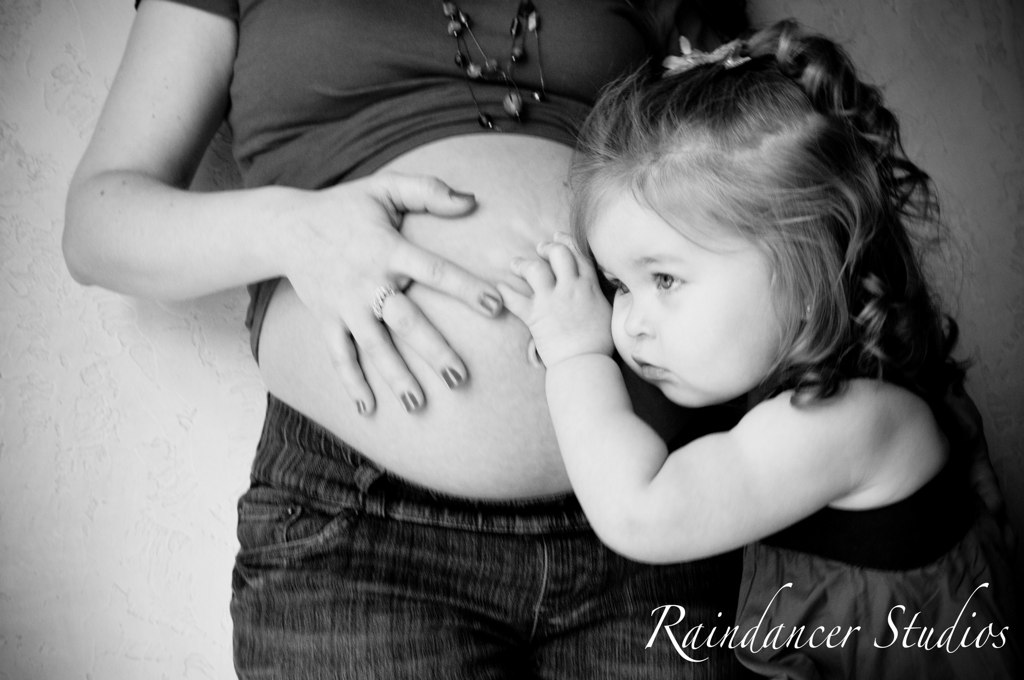
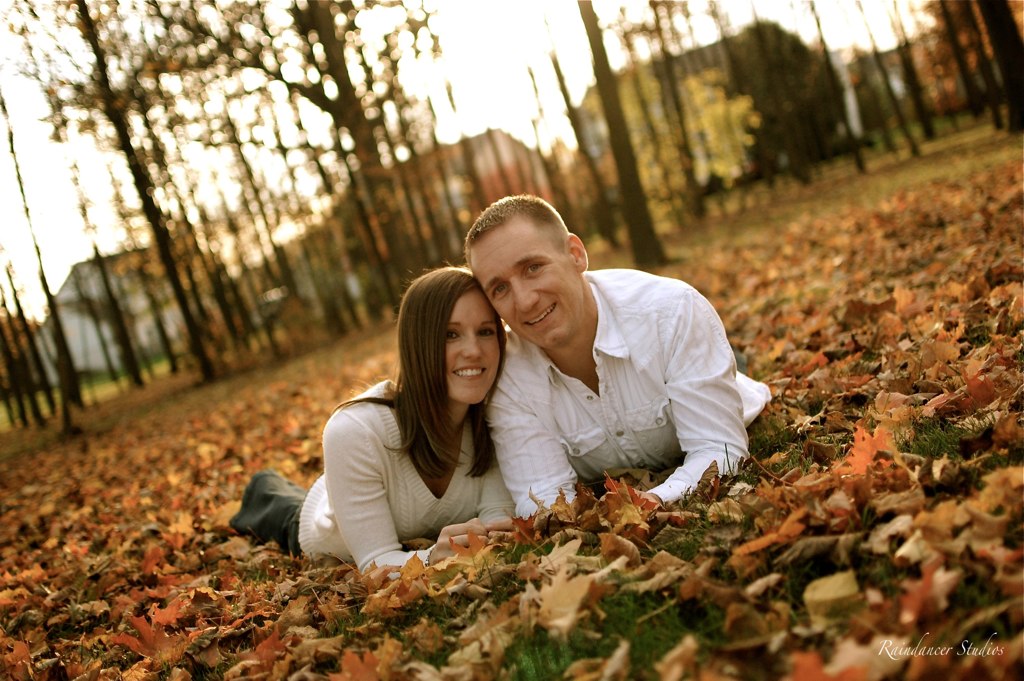
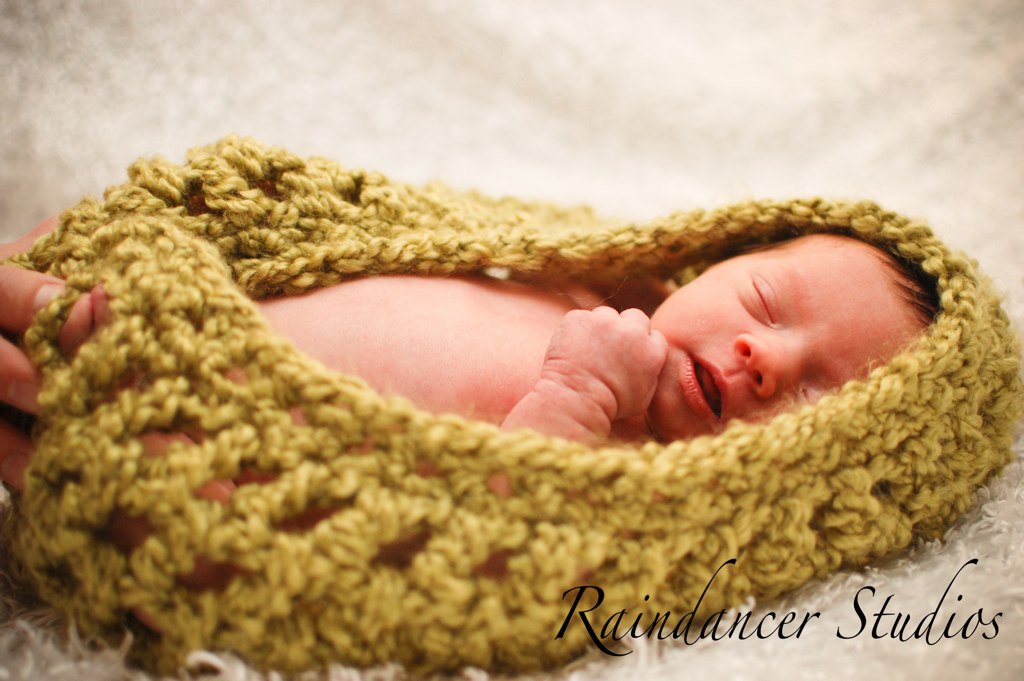
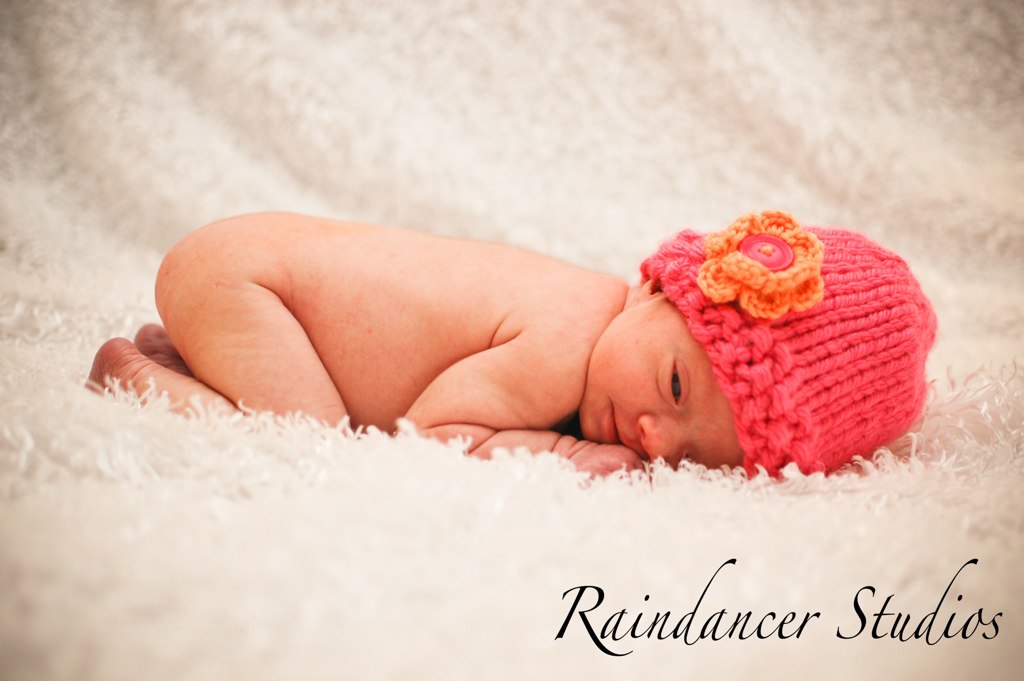
Below are a few of the photos that Jill has taken using Knits and Knots props :)
Jill Reid is one of the people I most admire. Her family suffered a tragic accident in 2008 that left them with no income and lots of hospital bills. Through it all, she had the support of family, friends, and her faith; and in 2009, at the urging of her supporters, she decided to turn her love for photography into a way she could support her family. She says "God inspired me through this season to look deeper for beauty and goodness in the midst of pain and struggle. The following quote has been my mantra for 2008 and 2009 and the very thing God has used to keep my heart soft and open: 'Life is not about waiting for the storm to pass. It’s about learning to dance in the rain.' Photography reminds me to see beauty amidst the ashes...to dance in the rain."
Jill has an amazing ability to photograph the spontaneous interactions of a family in a way that beautifully captures the love they have for one another. She is constantly trying new things and always surprising her customers with the outcome! If you're in the Indianapolis area and looking for a family, newborn, or maternity photographer, consider Raindancer Studios. I am certain you won't be disappointed!
Below are a few of the photos that Jill has taken using Knits and Knots props :)
Friday, May 7, 2010
Birthday for a Boy
The kids were invited to a Star Wars themed birthday party tonight. I knew the 5 year old we would be celebrating loved all things Star Wars (hence said party theme), but I also knew his mom appreciated handmade goods (she's ordered things from me in the past). I thought maybe we could compromise by purchasing the birthday boy something Star Wars related, and make him something to go along with it. The only problem was I couldn't think of anything to make that was in any way space themed that I could get done in less than 24 hrs, which is about how long I give myself to think about gifts for kids birthday parties... whoops! So instead I made something I'd been wanting to for a while - bean bags!
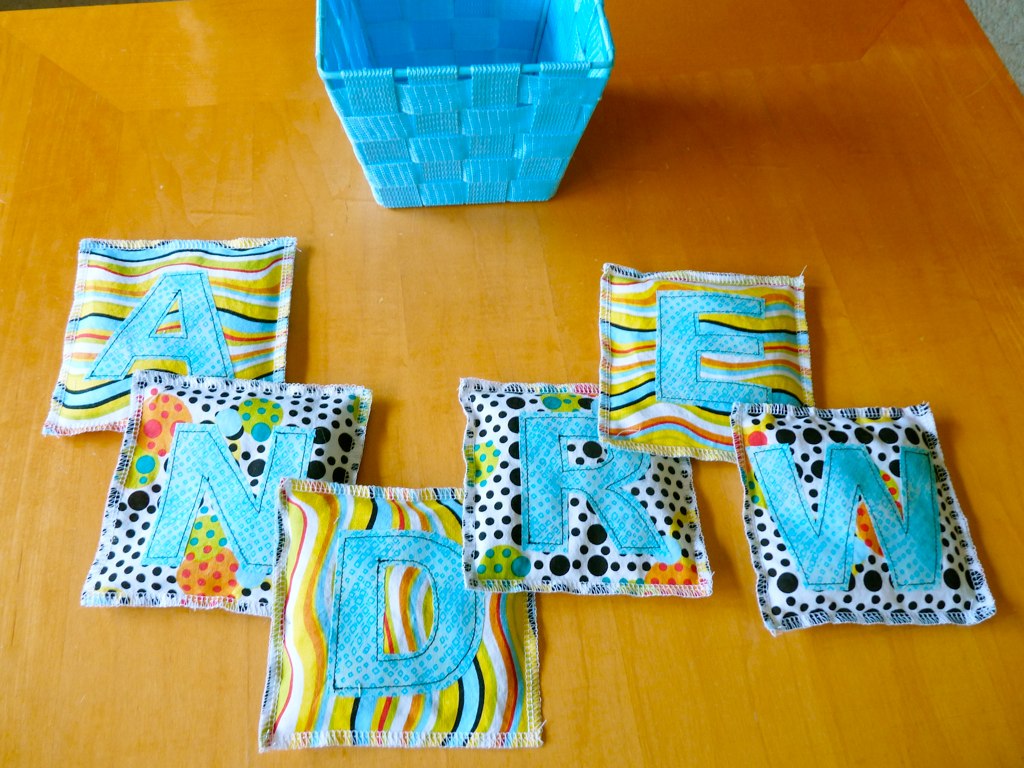
I have seen multiple sets of beanbags around the internet (easy tutorial here), and thought they looked like such a fun and easy project. Now it just so happens I got a serger for an early Mother's Day gift (woo hoo!) and have been trying to think of reasons to use it. I figured serging the seams instead of straight stitching and turning would save time and give me a chance to play with my new toy! We decided to spell out the birthday boy's name since it was a great even number of letters - 6.
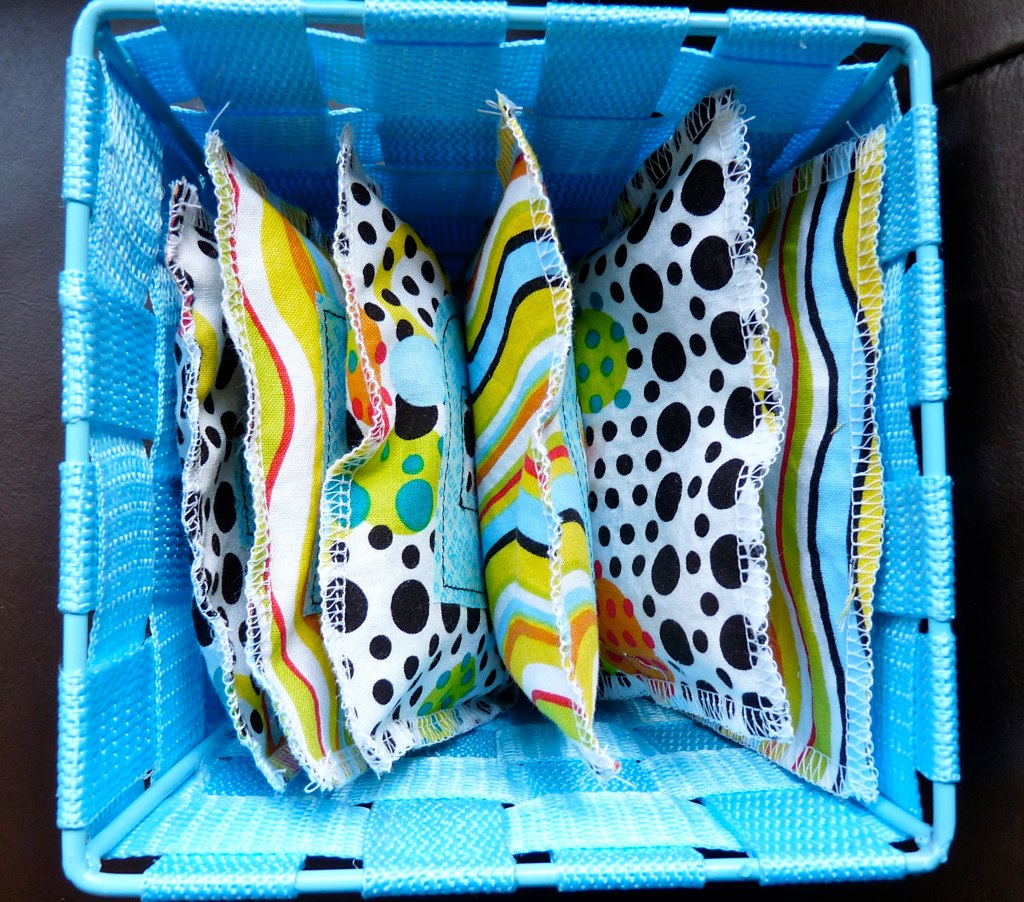
I used 2 different fabrics for the bags, cutting out 6 5"x5" squares of each. I cut the letters out of an almost solid blue and used Steam-A-Seam2 (sheets of fusible webbing) to secure it on the right side of each of 6 squares of fabric, alternating between the stripes and dots. I straight stitched around the letters to be certain they would stay firmly attached to the bags. Then I simply placed the squares wrong sides together, serged 3 of the 4 sides, filled it with beans (black-eyed peas, to be exact) and serged up the final edge. My son picked out a cute basket at JoAnn that was just the right size to hold the bags and will make a fun place to throw them in!
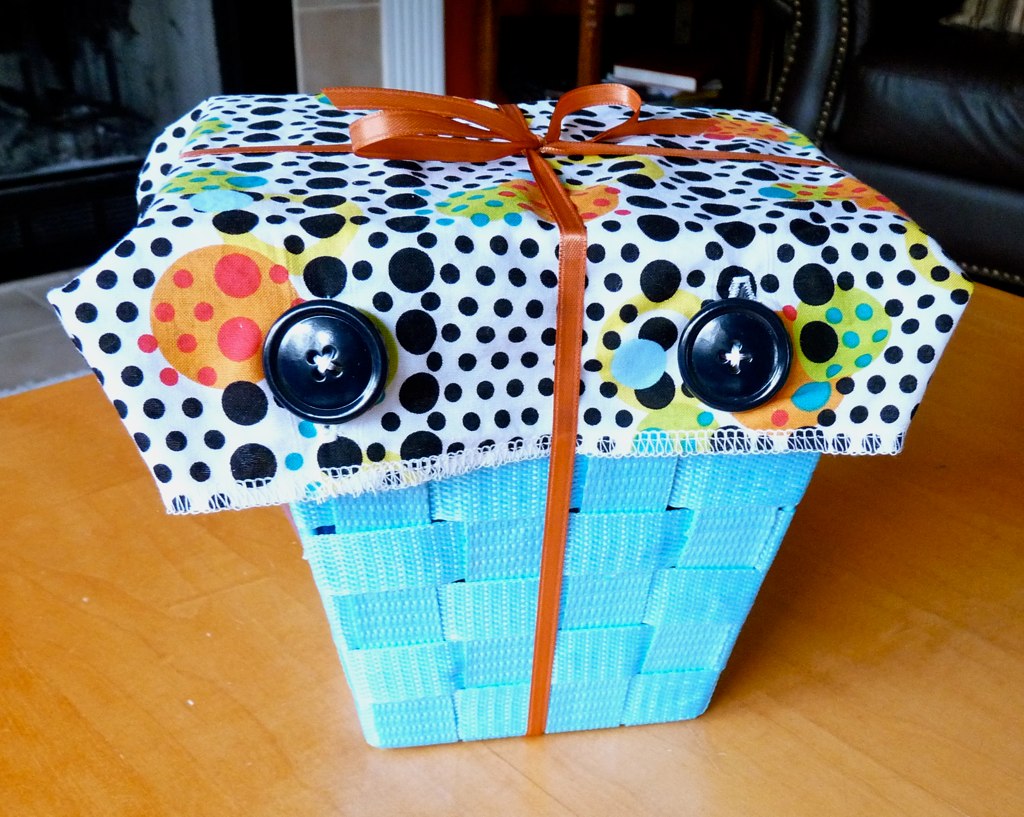
Now if you've even gotten a gift from me, you will probably know that I rarely use wrapping paper. I had seen on a blog somewhere the idea to use fabric to wrap gifts, and I thought that was such a cute idea! The basket looked great on its own, but was no where big enough to hold the Lego Star Wars set my son had picked out for a gift. I had a large section of the dot material left over, so I doubled it over, right sides together serged up the two sides, turned it right-side out and serged around the open end (yes, I know, probably more serging than was necessary, but c'mon, its a new toy!).
Then I used my trusty Brother sewing machine to sew some button holes and put on some buttons and, voila! a reusable gift bag that matched the rest of the gift :)
We tied the whole thing together with ribbon, tucked in a card, and headed out to a great evening with friends.
I have seen multiple sets of beanbags around the internet (easy tutorial here), and thought they looked like such a fun and easy project. Now it just so happens I got a serger for an early Mother's Day gift (woo hoo!) and have been trying to think of reasons to use it. I figured serging the seams instead of straight stitching and turning would save time and give me a chance to play with my new toy! We decided to spell out the birthday boy's name since it was a great even number of letters - 6.
I used 2 different fabrics for the bags, cutting out 6 5"x5" squares of each. I cut the letters out of an almost solid blue and used Steam-A-Seam2 (sheets of fusible webbing) to secure it on the right side of each of 6 squares of fabric, alternating between the stripes and dots. I straight stitched around the letters to be certain they would stay firmly attached to the bags. Then I simply placed the squares wrong sides together, serged 3 of the 4 sides, filled it with beans (black-eyed peas, to be exact) and serged up the final edge. My son picked out a cute basket at JoAnn that was just the right size to hold the bags and will make a fun place to throw them in!
Now if you've even gotten a gift from me, you will probably know that I rarely use wrapping paper. I had seen on a blog somewhere the idea to use fabric to wrap gifts, and I thought that was such a cute idea! The basket looked great on its own, but was no where big enough to hold the Lego Star Wars set my son had picked out for a gift. I had a large section of the dot material left over, so I doubled it over, right sides together serged up the two sides, turned it right-side out and serged around the open end (yes, I know, probably more serging than was necessary, but c'mon, its a new toy!).
Then I used my trusty Brother sewing machine to sew some button holes and put on some buttons and, voila! a reusable gift bag that matched the rest of the gift :)
We tied the whole thing together with ribbon, tucked in a card, and headed out to a great evening with friends.
Thursday, April 29, 2010
Standard Pricing
I finally got around to standardizing all of the Knits and Knots pricing for the most popular items. The list is by no means comprehensive! If you are interested in an item that is not listed on the pricing page, please contact me for a quote.
Find the Pricing page HERE.
Tuesday, April 27, 2010
Springing
Oops, I've been missing a while again. If you didn't catch it on facebook, you can read about my excuse for what has been taking up my time lately other than crafting on our adoption blog. There are other reasons as well - mostly this gorgeous spring weather! Up until this weekend we've had the most amazing summer-like weather and the kids and I have been getting out and enjoying it as much as possible. I have also been keeping myself pretty busy with some secret baby shower and Mother's Day gifts, so I haven't had a lot I could report about :)
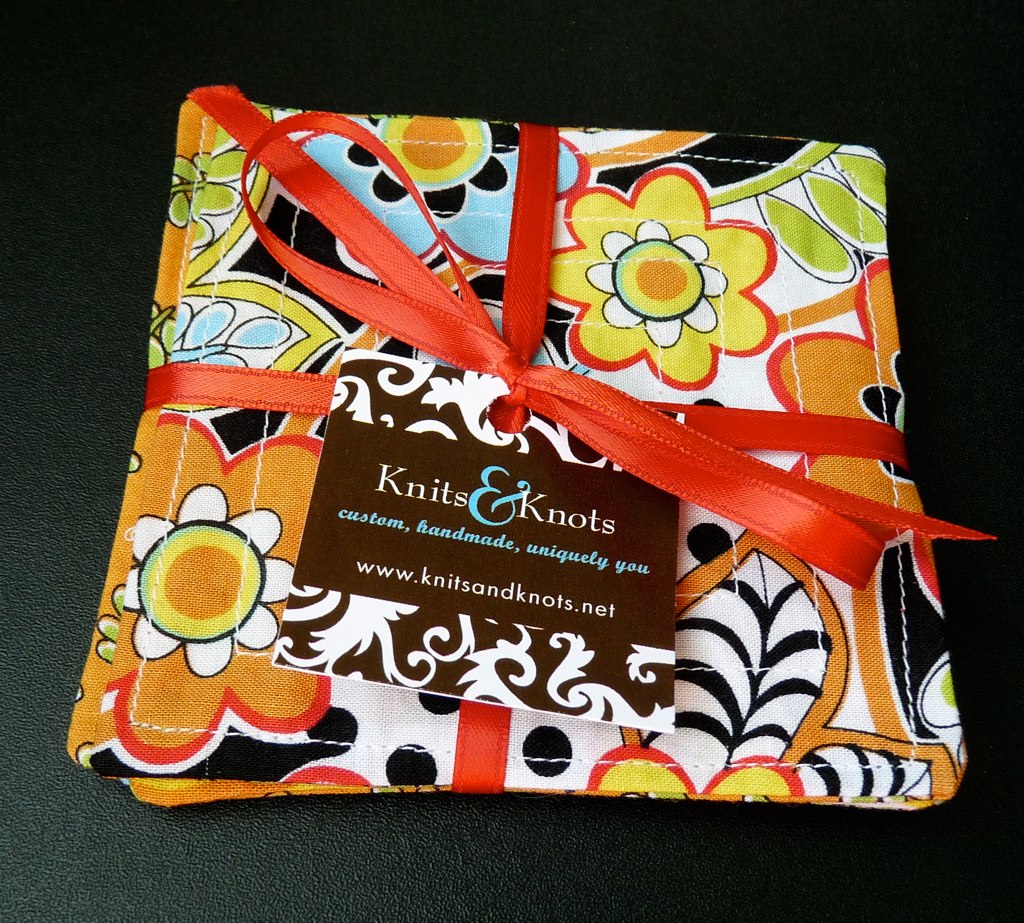
Way back when I posted a giveaway on my family blog, got some responses, and promptly forgot about it! The idea was that the first 5 people who responded would get something made by me in the next year, but they had to do the same on their blog. I got 5 responses, but only 2 of them ended up being able to carry on the idea. And of those two, one wants me to teach her crochet - which will eventually happen - and the other welcomed any handmade thing! Today I dug through my fabric scraps and whipped up a set of 5 very springy coasters for Alison.
Alison is a great hostess and truly enjoys entertaining. Hopefully these will bring a bit of color to her next gathering!
Way back when I posted a giveaway on my family blog, got some responses, and promptly forgot about it! The idea was that the first 5 people who responded would get something made by me in the next year, but they had to do the same on their blog. I got 5 responses, but only 2 of them ended up being able to carry on the idea. And of those two, one wants me to teach her crochet - which will eventually happen - and the other welcomed any handmade thing! Today I dug through my fabric scraps and whipped up a set of 5 very springy coasters for Alison.
Alison is a great hostess and truly enjoys entertaining. Hopefully these will bring a bit of color to her next gathering!
Saturday, April 10, 2010
Easter Dress
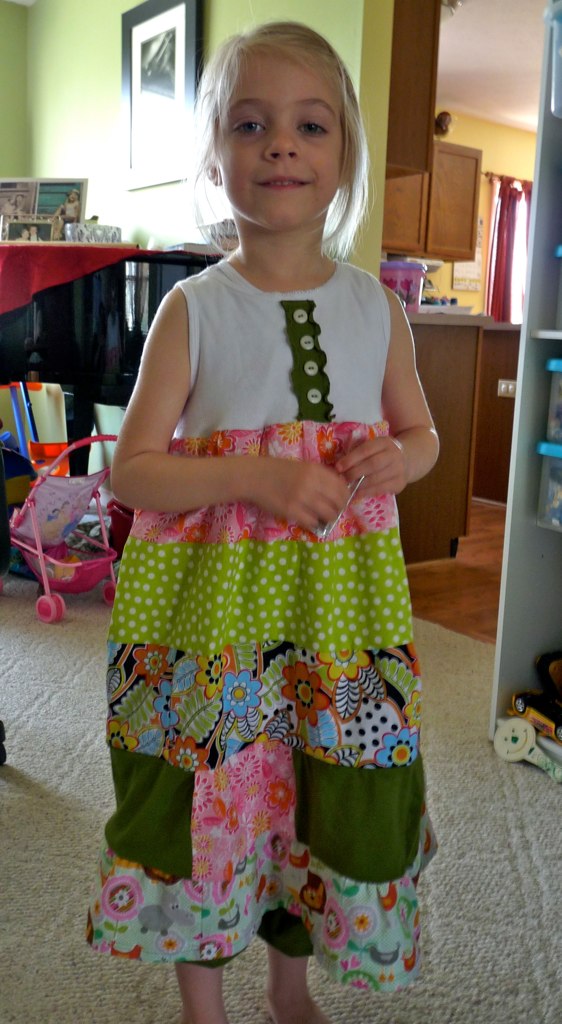
I did manage to get around to making a dress for my daughter before Easter to go with the knock-off MJ pants I made her.
The two of us had spent at least 30 min picking out fabrics together when I started this whole venture, and I was thrilled to see it come together into something even remotely resembling the Matilda Jane dress I was sort of modeling it after.
My dress turned out a lot longer than the MJ dress, and you can barely see the pants underneath. But, I still think the outfit is cute and the pants keep my not-so-girly girl from showing her underwear to everyone :)
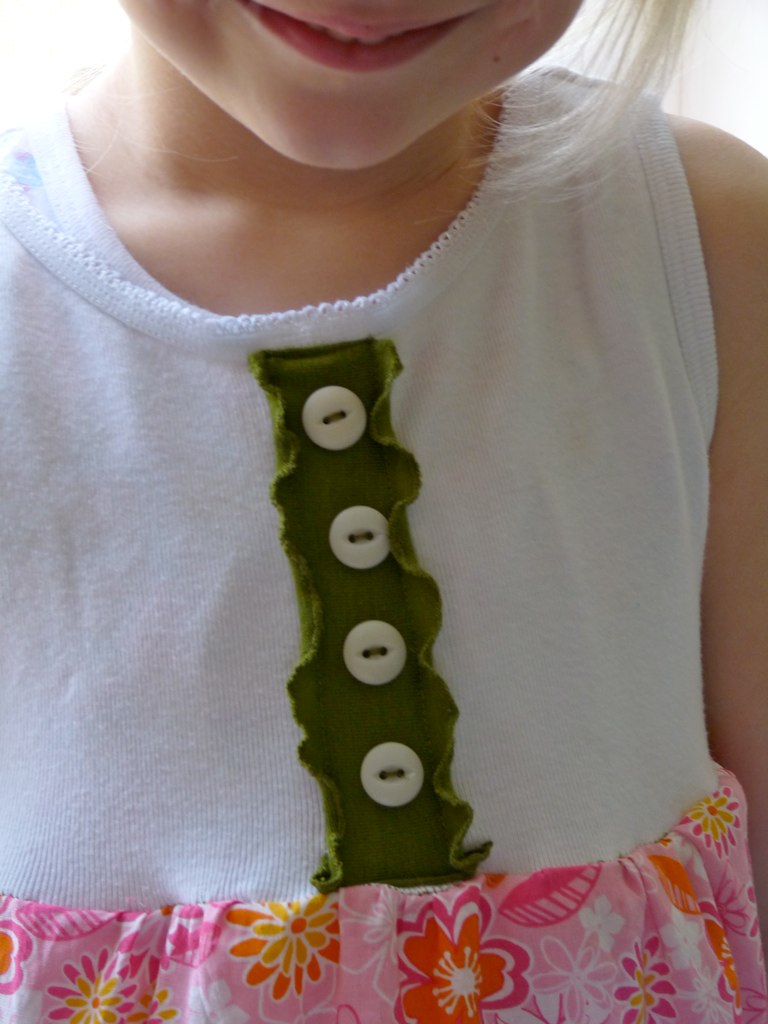
I honestly think the hardest part of the whole thing was figuring out how to make the little button band up by the neckline. I ended up using some of the knit fabric leftover from the pants and making a lettuce edge on it then sewing it in like the ribbon they used on the original dress. Then I sewed the buttons on. Its a cute little finish that made it all tie together nicely.
Then, of course, I had to make a matching tie for my son - can't leave the big brother out!
The two of us had spent at least 30 min picking out fabrics together when I started this whole venture, and I was thrilled to see it come together into something even remotely resembling the Matilda Jane dress I was sort of modeling it after.
My dress turned out a lot longer than the MJ dress, and you can barely see the pants underneath. But, I still think the outfit is cute and the pants keep my not-so-girly girl from showing her underwear to everyone :)
I honestly think the hardest part of the whole thing was figuring out how to make the little button band up by the neckline. I ended up using some of the knit fabric leftover from the pants and making a lettuce edge on it then sewing it in like the ribbon they used on the original dress. Then I sewed the buttons on. Its a cute little finish that made it all tie together nicely.
Then, of course, I had to make a matching tie for my son - can't leave the big brother out!
Thursday, March 25, 2010
Knock Offs
I love Matilda Jane clothes. They are boutique-style clothes that can only be bought from a private seller at "Trunk Shows" (home parties kind of like Pampered Chef for clothes). The colors and styles are so trendy and cute, and I'm always tempted to get things for my daughter. The problem is that when I see them I realize I could totally make clothes just like that if I took the time and had the right materials. The other day I decided its finally time to try. Anna's birthday is in a few months and I figured I would do my best to make her a few things and if I just completely fail, then I'll order some at the next Trunk Show I know about in June. We hit JoAnn's yesterday afternoon and picked up some fabric and I set to snipping and sewing.
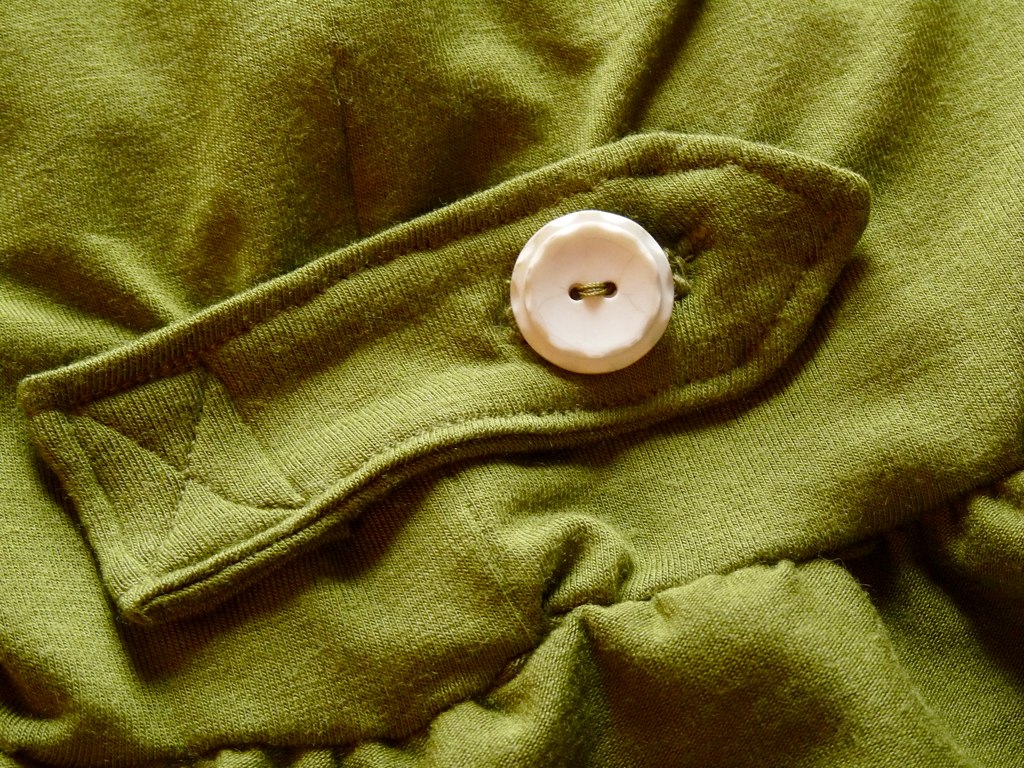
Today I finished up the first item: a pair of super soft, super comfy ruffly capris based on the Big Ruffle style of MJ pants. The adult version has a cute button on the side of the leg that I decided to copy for my version. I think it gives it the touch of sophistication and a little extra "something" I was looking for :)
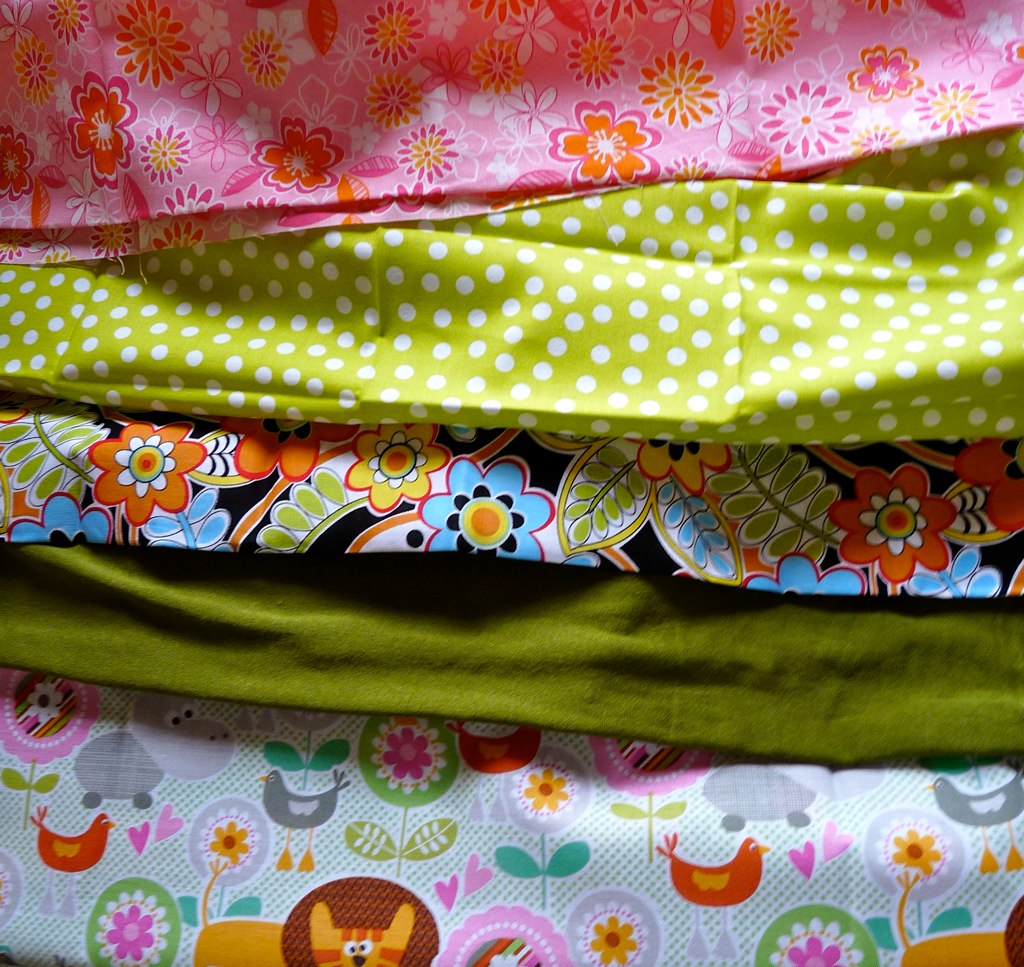
We have a set of fabrics that I'll be making into a dress similar to the Sara Dress. The olive fabric is the same knit used in the pants so they'll be a set or will be able to be used separate!
I'll post pics of the finished product when I finally get it done :)
front
back
Today I finished up the first item: a pair of super soft, super comfy ruffly capris based on the Big Ruffle style of MJ pants. The adult version has a cute button on the side of the leg that I decided to copy for my version. I think it gives it the touch of sophistication and a little extra "something" I was looking for :)
We have a set of fabrics that I'll be making into a dress similar to the Sara Dress. The olive fabric is the same knit used in the pants so they'll be a set or will be able to be used separate!
I'll post pics of the finished product when I finally get it done :)
Subscribe to:
Posts (Atom)