Its finally here - the review of my Taylor & Ng 5 Piece 12" Preseasoned Flat Bottom Wok Set provided by CSN stores and my favorite Korean Recipe, Bi Bim Bap!
I'll start off with a quick review of the product and my experience with CSN stores (to learn about how I was chosen to do a review you can go here) The delivery of my wok was as expected for an online order - I think it took about 5 days from the order going through to arrival at my door. The wok came unassembled, which was surprising to me, but was simple to put together. Basically I had to screw on the handle to both the wok and the lid. The set consists of the wok, lid, wooden cooking chopsticks, a wooden spatula, and a metal spatula. The wok is very sturdy, and looks to me as though it will last a long time. The lid is kind of thin, but seems to be strong enough - I haven't had a need to use it yet. The cooking utensils that came with the set are all great and I can see using them for many cooking applications. The chopsticks may be my new favorite cooking utensil actually! They are long and do a great job of moving food around when stir-frying. The only issue I had with the set at all is that although it is called "pre-seasoned" you can't just jump into using the wok. The set comes with a manual that takes you through the simple steps of removing a protective coating that has been placed on the wok. While it is easy, you can't just use it right out of the box. It is also not dishwasher safe, but is VERY easy to clean by hand, which I love! Overall, the set is great, and I can see it being my number one cooking pan for a long time because of its size and convenience.
And now on to the Bi Bim Bap
Bi Bim Bap is a traditional Korean dish, which literally means "mixed rice" or "mixing rice" depending on who you ask. The basic idea is that you stir-fry different types of vegetables and a meat and put it over rice. Then add a little gochujang (hot pepper paste), mix it up, and you have a delicious meal! According to Wikpedia, traditionally, Bi Bim Bap would include julienned cucumber, zucchini, daikon, mushrooms, bellflower root, and gim (dried seaweed), as well as spinach, soybean sprouts, and bracken fern stems, tofu (either plain or sautéed), and/or a leaf of lettuce, plus a fried egg on top. The following recipe is an Americanized version of Bi Bim Bap based on the vegetables and items we typically have in our kitchen. The recipe I'm showing is loosely based on this recipe. Keep in mind, you can use pretty much any vegetables you have on hand in your kitchen. In the past i've used spinach, cabbage, green beans, sugar snap peas, pretty much whatever needs to be used up in the vegetable bin! Its a GREAT way to use up leftover veggies :) My kids don't do spicy, so we always skip the gochujang, but my husband is going to love our Korean Air flight when we go to get our son because they serve and awesome bi bim bap that comes with all the spicy gochujang you could want!
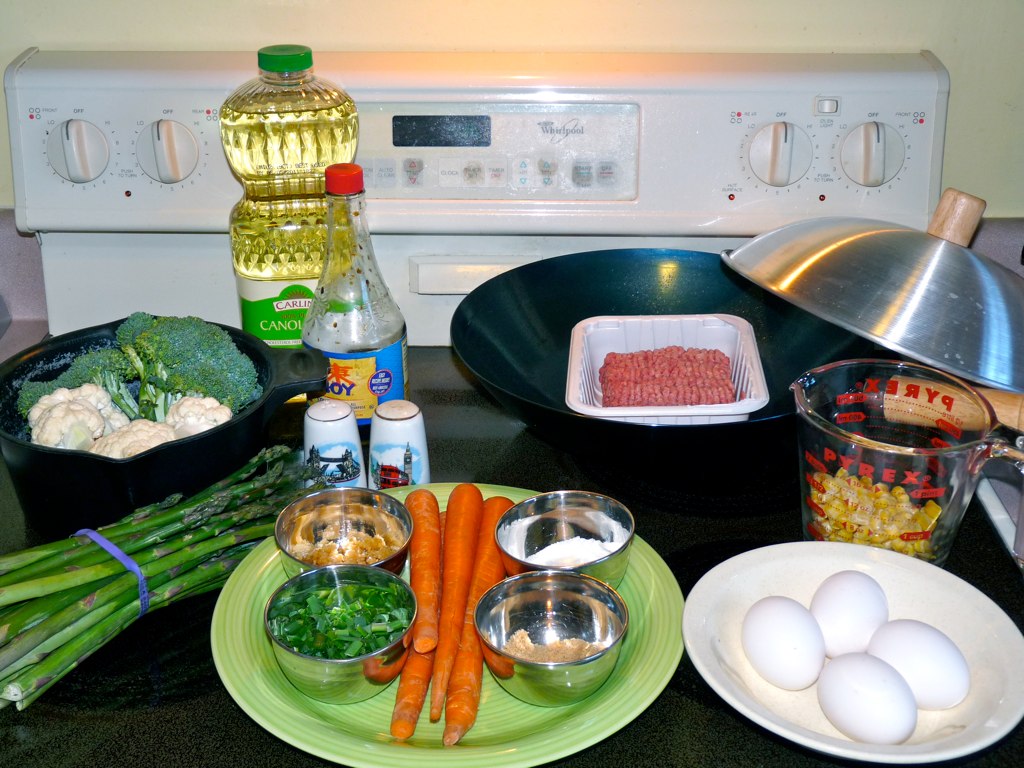
Ingredients:
1 lb lean ground beef, ground turkey, chicken breast or beef cut in strips
2 cups carrots, julienned* (see end for a little picture tutorial on this!)
2 cups broccoli, cut into bite-sized pieces
2 cups cauliflower, cut into bite-sized pieces
2 cups asparagus, tough ends removed and cut into bite-sized pieces
1 (15 1/4 ounce) can corn kernels, drained or 1.5 cups frozen corn kernals
4 eggs, scrabled
1/2 cup light soy sauce
2 tablespoons granulated sugar
1 tablespoon brown sugar
1/8 cup garlic, chopped
2 tbsp chives, chopped
oil, for frying (sesame is the traditional, but I usually use Canola)
salt and pepper
1.5-2 cups white rice (cook according to package directions)
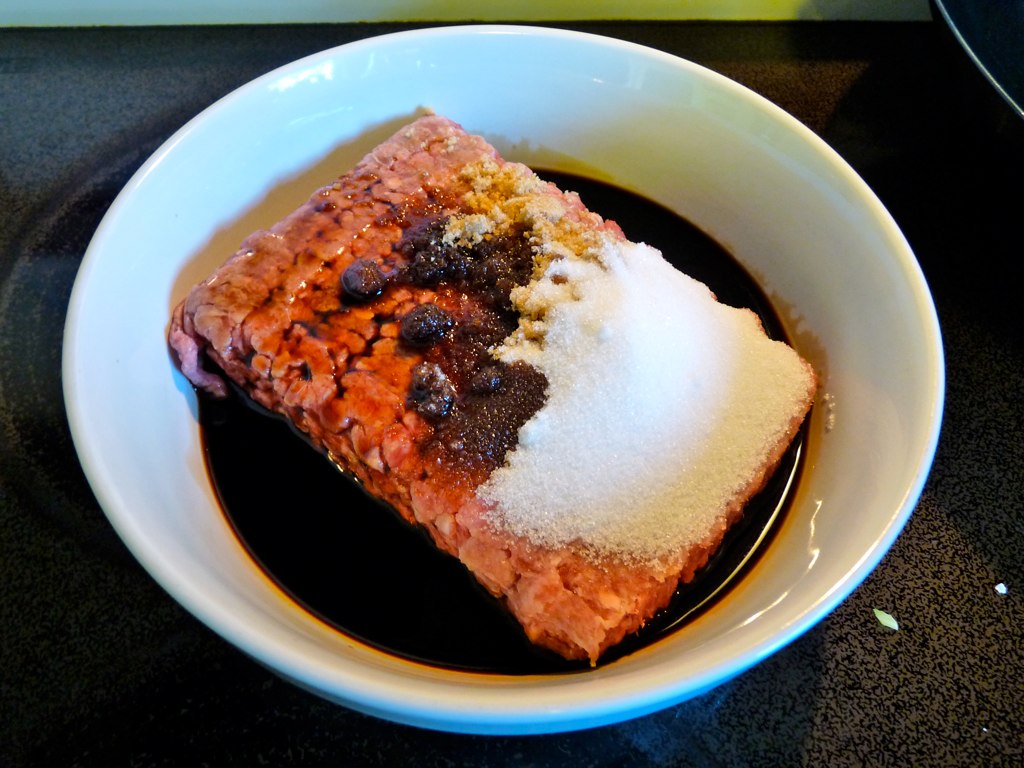
1) In a small bowl, combine meat, soy sauce, both sugars, and 1/2 of the garlic (my photo is missing the garlic, oops!). Mix together thoroughly to marinate.
2) Scramble the eggs and cook into small pancakes. Slice into strips. (see video below). Place into bowl and cover with foil to keep warm.
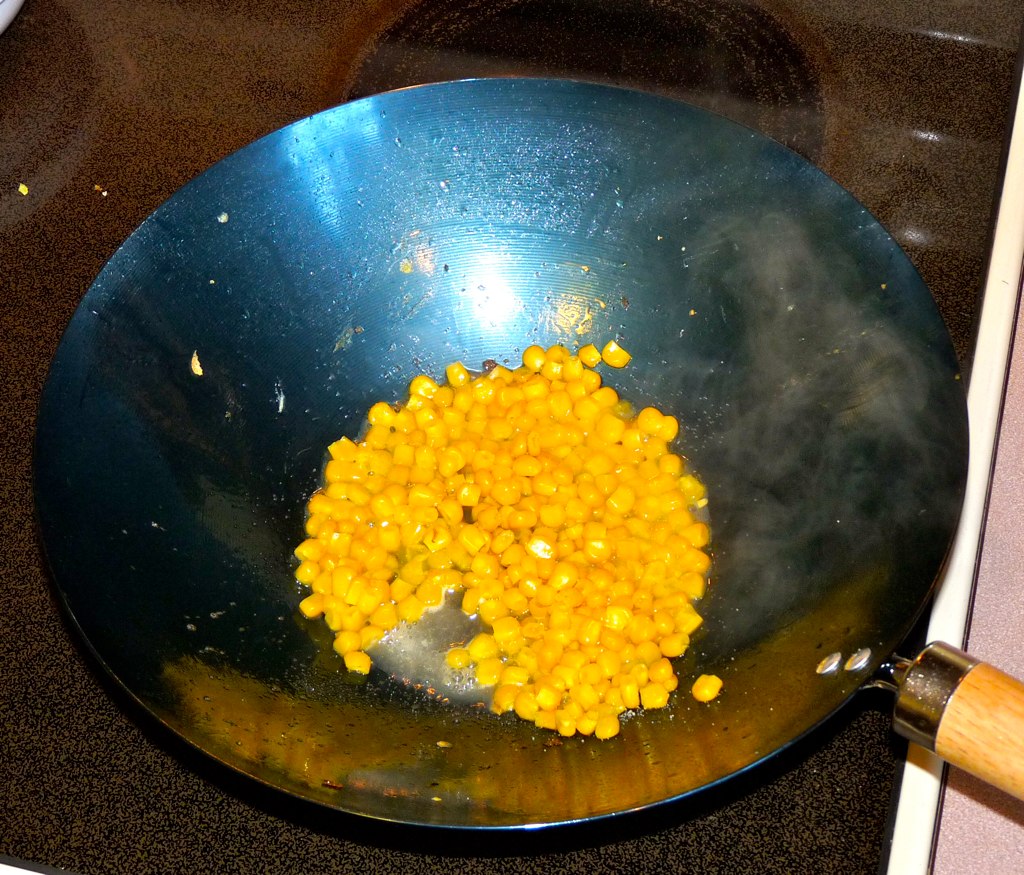
3) Heat small amount of oil in wok, add canned or frozen corn and a dash of salt. Cook until the corn starts to brown a little. Place into bowl and cover with foil to keep warm.
4) Heat small amount of oil in wok, add julienned carrots, add 1 tsp of sugar and stirfry until soft. Place into bowl and cover with foil to keep warm.
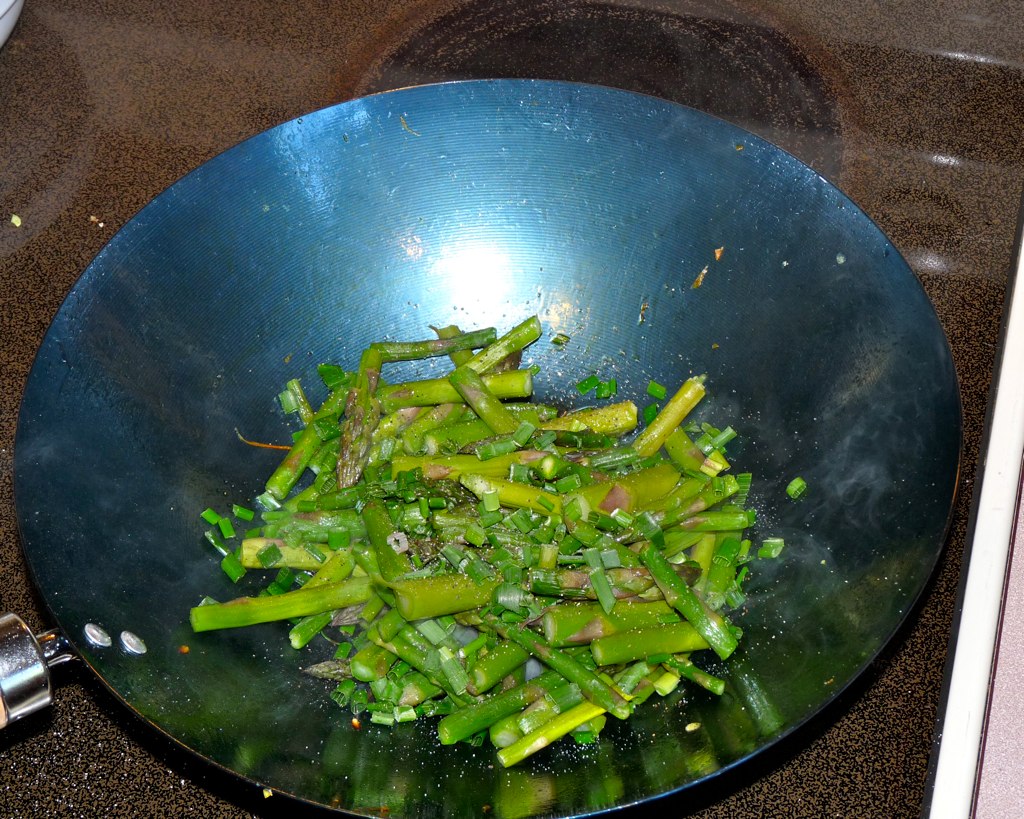
5) Heat small amount of oil in wok, add asparagus and chives, and season with salt and pepper. Stirfry until crisp-tender (and enjoy the AMAZING SMELL!) Place into bowl and cover with foil to keep warm.
6) Heat small amount of oil in wok, add broccoli, cauliflower and the rest of the garlic, and season with salt and pepper. Stirfry until crisp-tender. Place into bowl and cover with foil to keep warm.
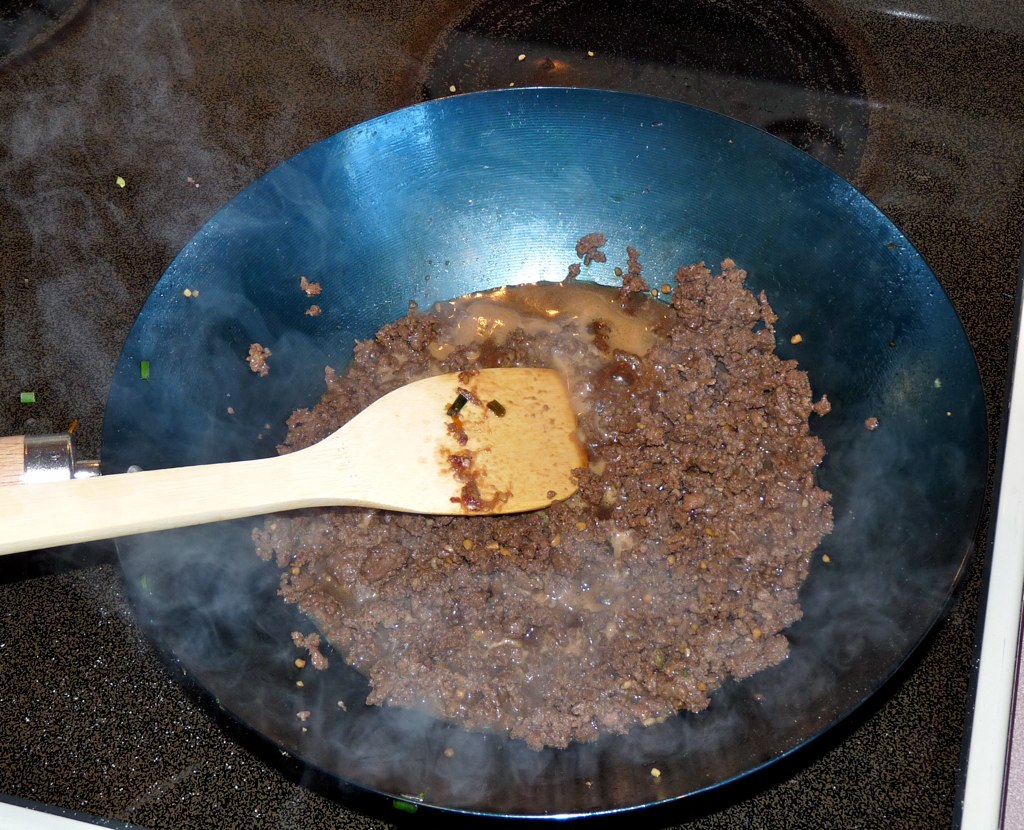
7) Add a small amount of oil to wok, add meat and marinade and heat until fully cooked. Place into bowl and cover with foil to keep warm.
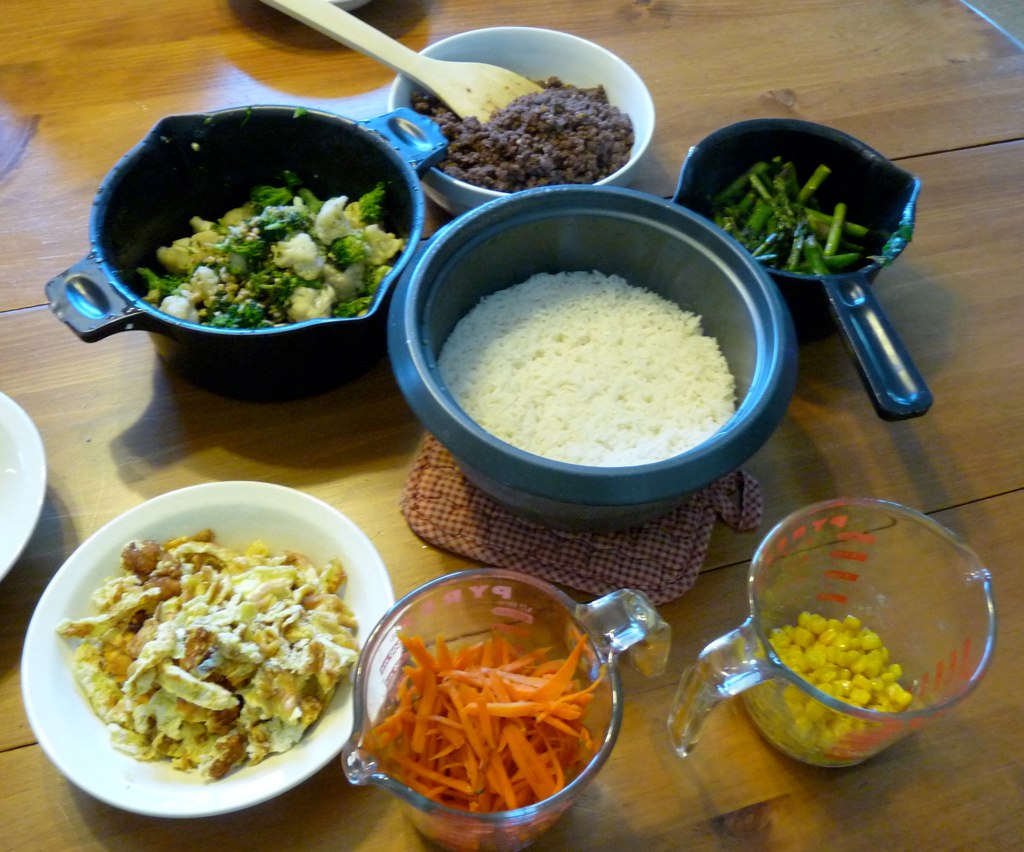
Either place all of the bowls out on the table, letting your family pick and choose what they want, or serve each person a bowl filled with rice and topped with a little each of the stir-fried dishes. Mix it up and enjoy the very yummiest stir-fry you've ever had!
*how to quickly julienne carrots
1) cut a carrot at a steep angle creating thin, oval slices of carrot
2) push the slices into a neat row
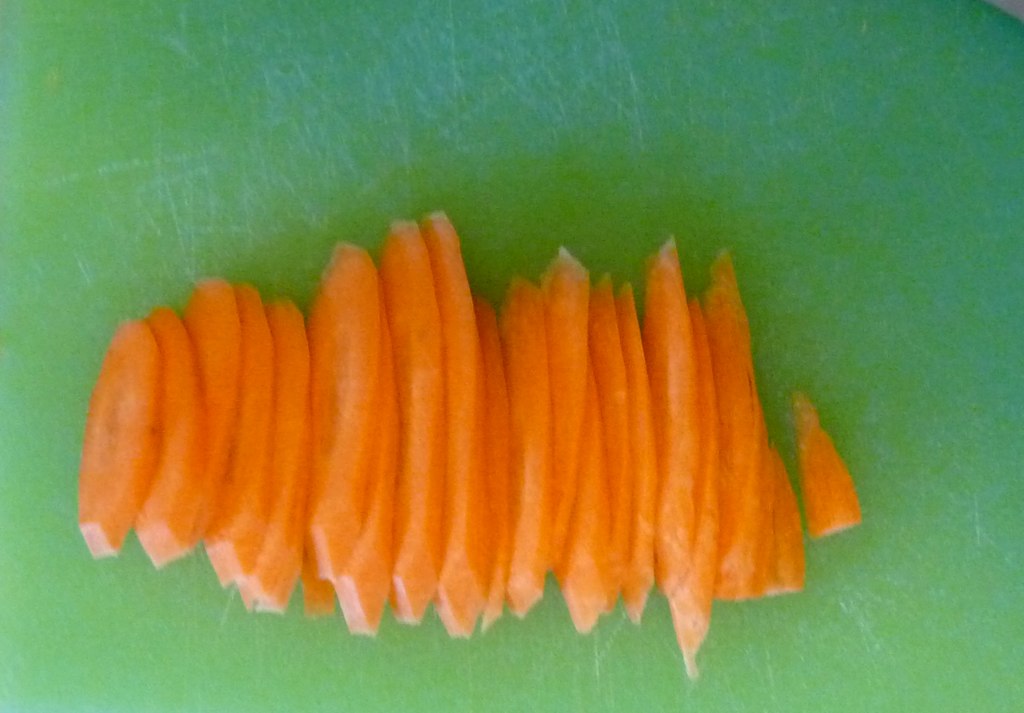
3) cut down the row of slices to make little matchsticks (juliennes) of carrot.
Saturday, July 3, 2010
Thursday, July 1, 2010
Hijacked!
Ok, so my grand plans of getting a review of my new wok and a tutorial on bi bim bap on here have been hijacked! I had some family issues come up last week, and although I've had a chance to use my wok it has only been twice and rushed both times. I will be home all weekend this weekend and hope to get a tutorial and review posted at the end of that time :)
I just wanted to take a moment and share a little about how this review came about. **NOTE: CSN stores did NOT ask me to share this, I felt I should because I want to be open with anyone who might read this blog! I got contacted by CSN stores to see if I wanted to do a review or giveaway on my site. I'm guessing they found my blog by looking at google hits or something as they don't specialize in craft items. Anyway, the first thing I did is ask about their corporate responsibility (how do they spend their money, where do they get their items, are any of their products manufactured in illegal ways - forced labor, child labor and the like). I determined that I WOULD NOT support or promote an online store that I couldn't be confident lived up to the standards that I require when I make my own purchases. The person from CSN stores who had contacted me was kind enough to share some links about their corporate philosophy and their philanthropic giving. It seems, from what I could tell from the links, that CSN stores is a company based in the northeast US that has gone from a small company to a rather extensive one quickly, but that the company still sees themselves as a local company with a focus on serving their local and global community. They also have an A+ rating by the BBB, which was encouraging to me! I also googled CSN store's corporate responsibility and was not able to find any mention of them engaging in questionable practices in regard to their purchasing or sourcing of their wares. After all of that I felt confident I could provide a review on my site for them and be confident of what I was promoting! This blog is not going to become another spot that you are attacked by advertising, but I actually thought it was cool to have the opportunity to support a US based company with a good corporate philosophy. So, if you're interested, look out for a review of my new wok and my favorite recipe sometime next week. Then we will be back to our regularly scheduled programming (once my life slows down a bit - I thought summer was supposed to be relaxing!)
Monday, June 14, 2010
Cooking is a craft, right?!
This summer is keeping me pretty busy, and I feel like I've not been doing a lot of crafting. I do get a few things done here or there, but for the most part I'm hanging with the kids, cleaning the house, preparing meals, hitting the pool, prepping for vacation and birthdays and trying to get my figure in shape! Then again, if you consider cooking a craft, I've been crafting up a storm! I have the desire to learn how to cook several Korean dishes before we go to pick up our son this fall, and thanks to CSN stores, I will have a little easier time! I will be getting a new Wok from CSN's store cookware.com, and will be posting a review of it here along with a tutorial for making my very favorite Korean dish, Bi Bim Bap. In the mean time, check out CSNstores.com to see the variety of items you can get, from twine to twin beds they've got pretty much everything you could want for your home!
Tuesday, June 8, 2010
Layer Dresses
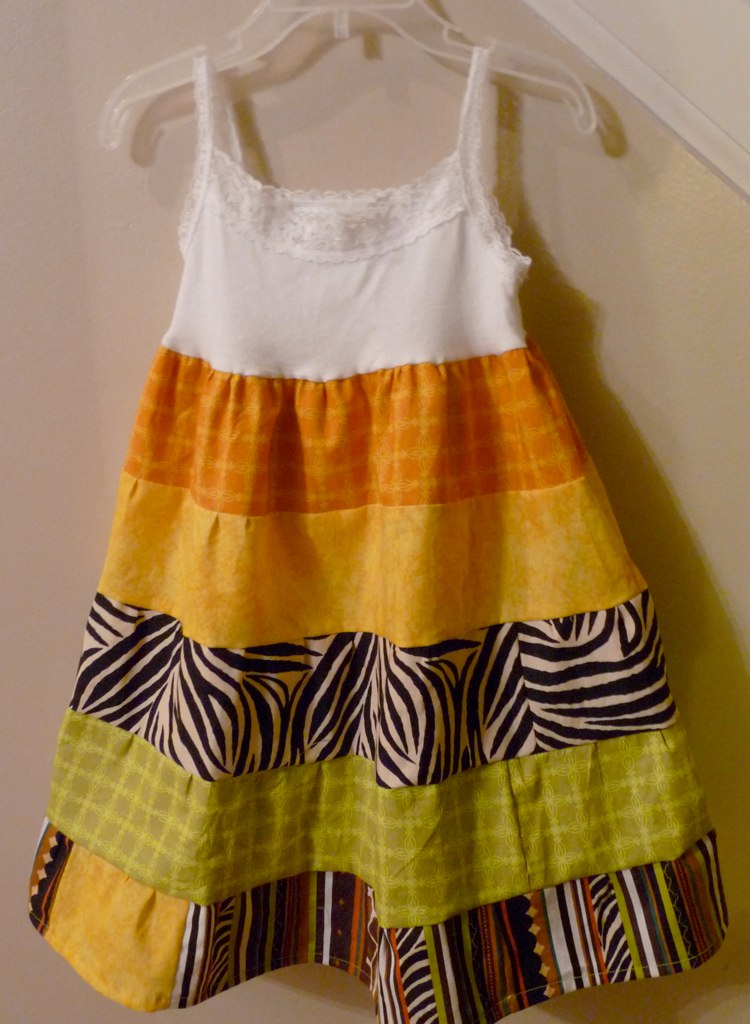
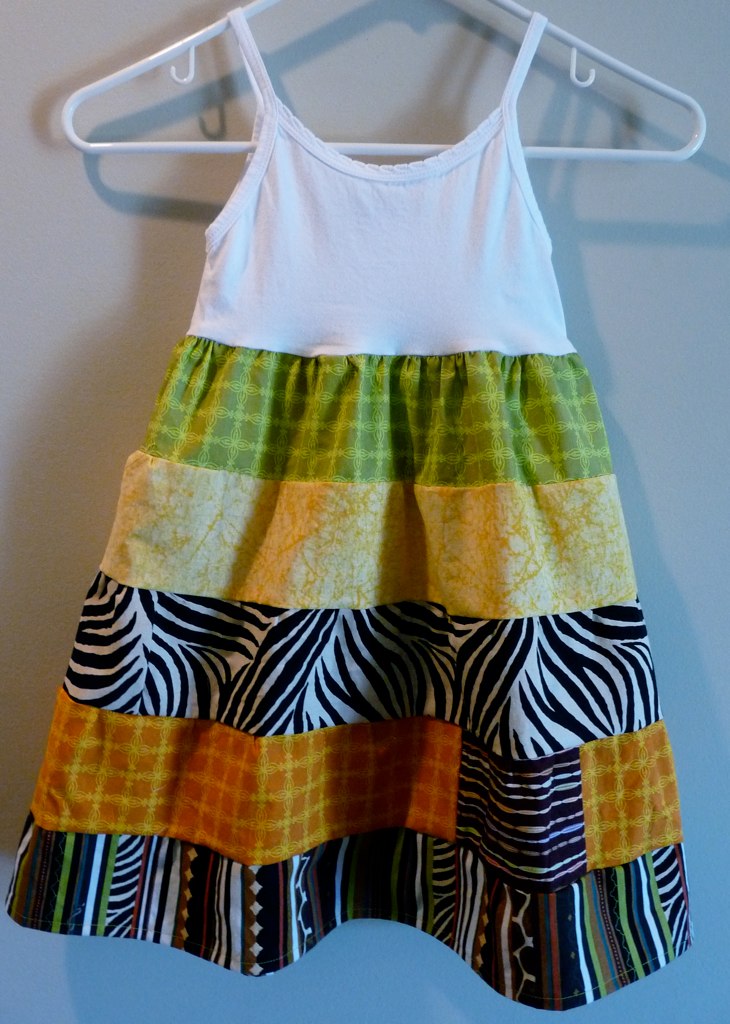
I recently had the pleasure of making two sibling sets of layer dresses. One for my good friend Anne and her two daughters. They are about 18 months apart in age, but pretty much the same size. We picked out some fun safari-type fabrics and coordinated the dresses without making them identical. You can't tell from the lighting of the photos, but the fabrics are the same :) The fabric for these was Fabric Central Exotic Bundle 2 plus an extra fat quarter of the yellow fabric purchased from JoAnn's.
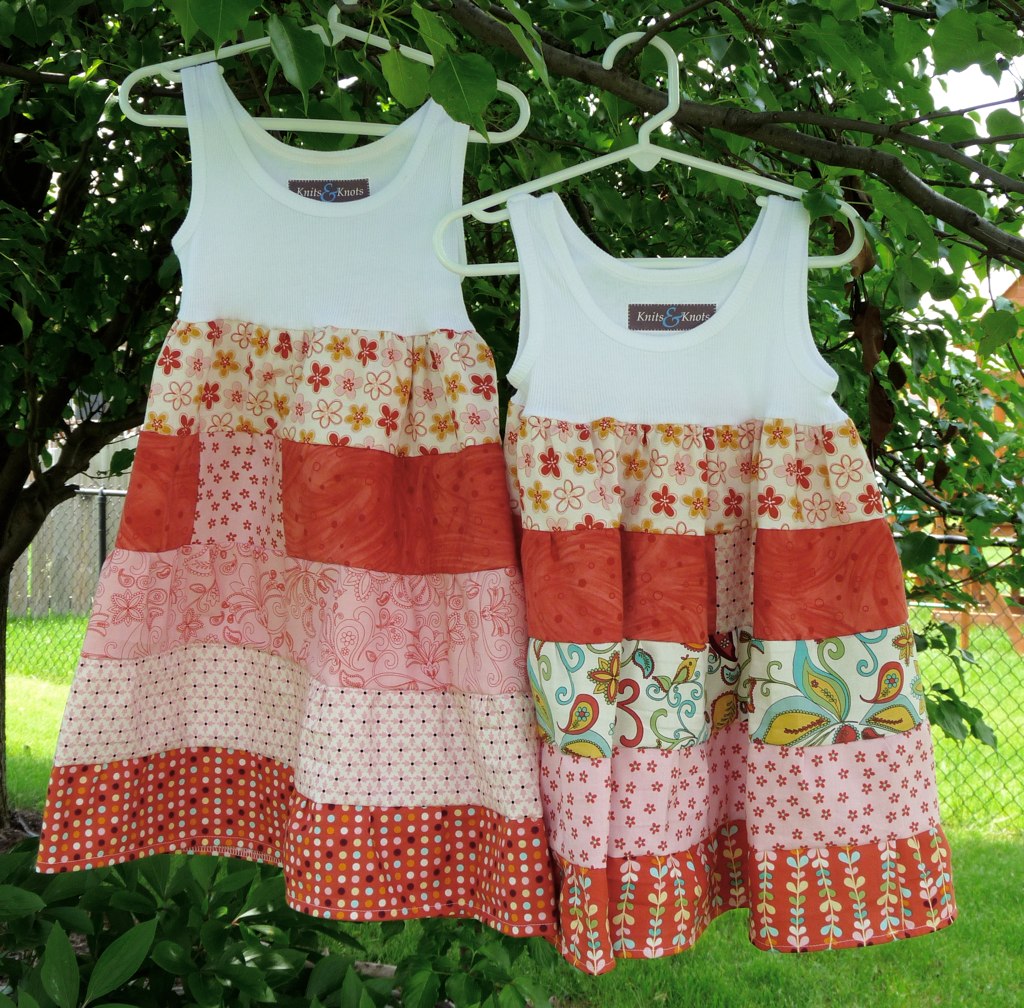
The second set was for a friend of Anne's two daughters who are several years apart. This time we went with fabrics that were "pink and girly" by the client's request and the dresses were made in different sizes. The fabric for these was Bloom and Grow by Riley Blake in the pink and cayenne colorway (purchased at Karamat on Etsy - great service!)
It was so fun to take a design I made for my daughter and make it for others too!
The second set was for a friend of Anne's two daughters who are several years apart. This time we went with fabrics that were "pink and girly" by the client's request and the dresses were made in different sizes. The fabric for these was Bloom and Grow by Riley Blake in the pink and cayenne colorway (purchased at Karamat on Etsy - great service!)
It was so fun to take a design I made for my daughter and make it for others too!
Thursday, May 27, 2010
Teacher Gift
I made an extra special teacher gift for my son's Kindergarten teacher this year. She did such a great job with Eli and worked extra hard to make sure he had a great year. I wanted to make sure she knew all her hard work was appreciated, especially as this was her first year teaching!
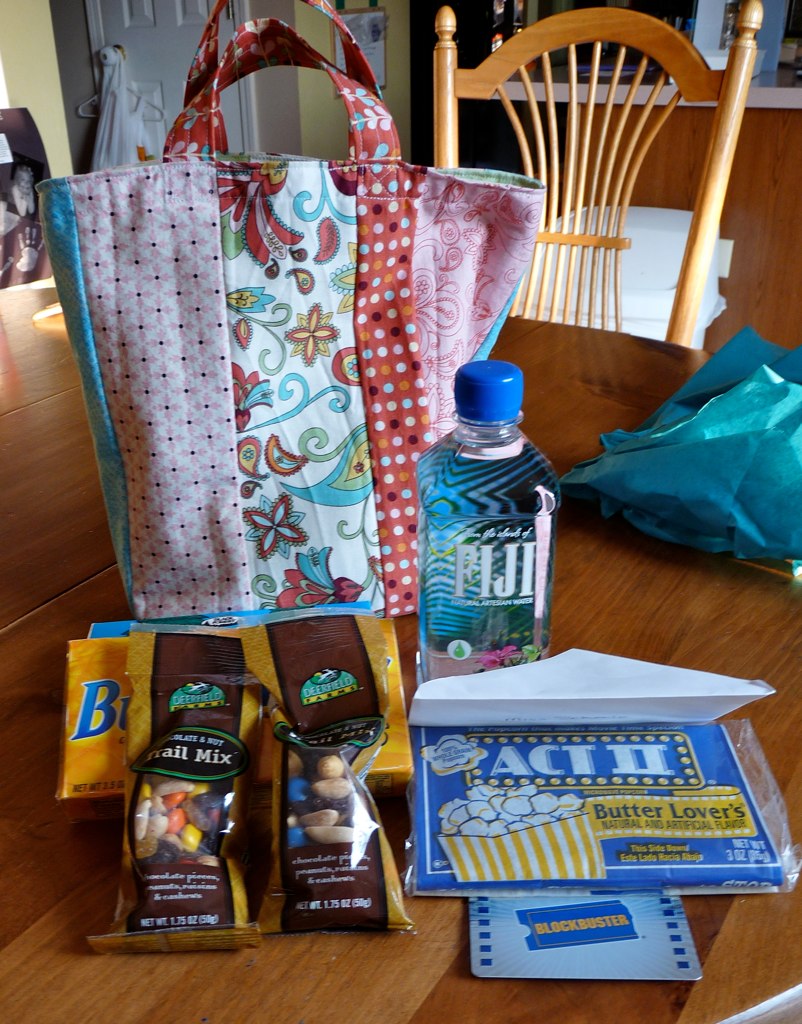
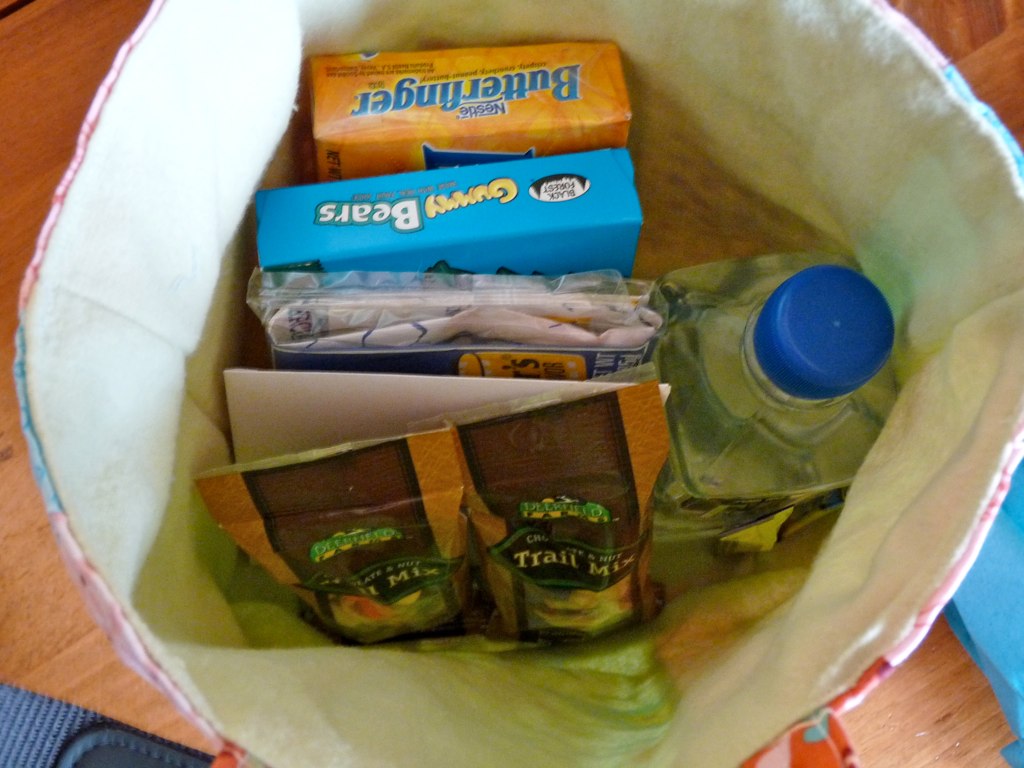
I had seen the idea on a blog somewhere to make a "movie night" gift bag and thought it was so cute! We got some microwave popcorn, movie theater candy, trail mix, a bottle of water, and a gift card to Blockbuster.
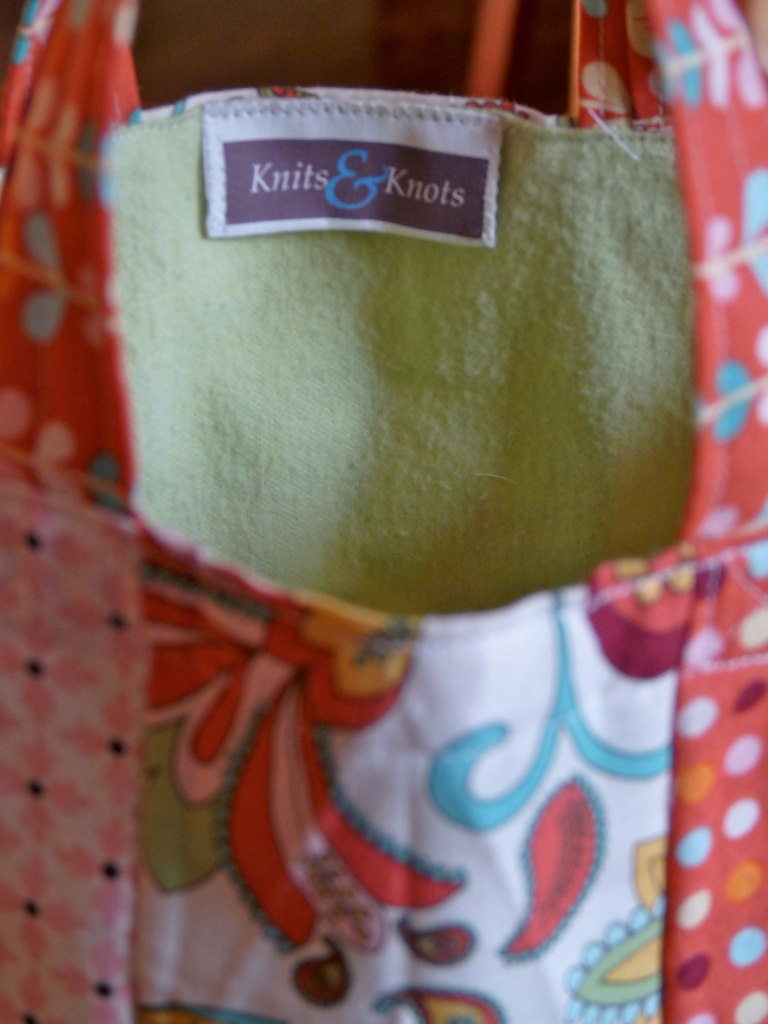
I put it all in this little tote that I made from leftover scraps from my most recent project. I lined the tote with some soft but sturdy felt to give it a little stiffness and to hide all the seams from piecing the project together.
Tuesday, May 18, 2010
Featured Photographer - Raindancer Studios
I have been having a great time getting to know some local, and not-so-local photographers in the last few months. I recently started making props for infant/newborn photography, and have met some amazing people! I thought it might be fun to do a feature on my blog about the different photographers that I've been working with, starting with Jill Reid from Raindancer Studios.
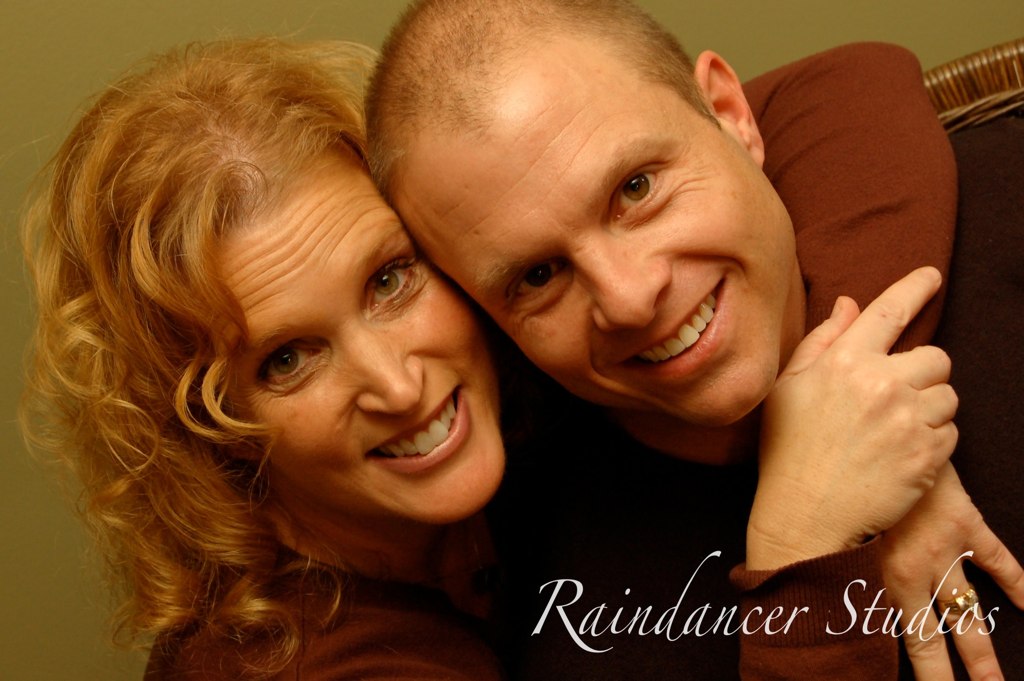
Jill Reid is one of the people I most admire. Her family suffered a tragic accident in 2008 that left them with no income and lots of hospital bills. Through it all, she had the support of family, friends, and her faith; and in 2009, at the urging of her supporters, she decided to turn her love for photography into a way she could support her family. She says "God inspired me through this season to look deeper for beauty and goodness in the midst of pain and struggle. The following quote has been my mantra for 2008 and 2009 and the very thing God has used to keep my heart soft and open: 'Life is not about waiting for the storm to pass. It’s about learning to dance in the rain.' Photography reminds me to see beauty amidst the ashes...to dance in the rain."
Jill has an amazing ability to photograph the spontaneous interactions of a family in a way that beautifully captures the love they have for one another. She is constantly trying new things and always surprising her customers with the outcome! If you're in the Indianapolis area and looking for a family, newborn, or maternity photographer, consider Raindancer Studios. I am certain you won't be disappointed!
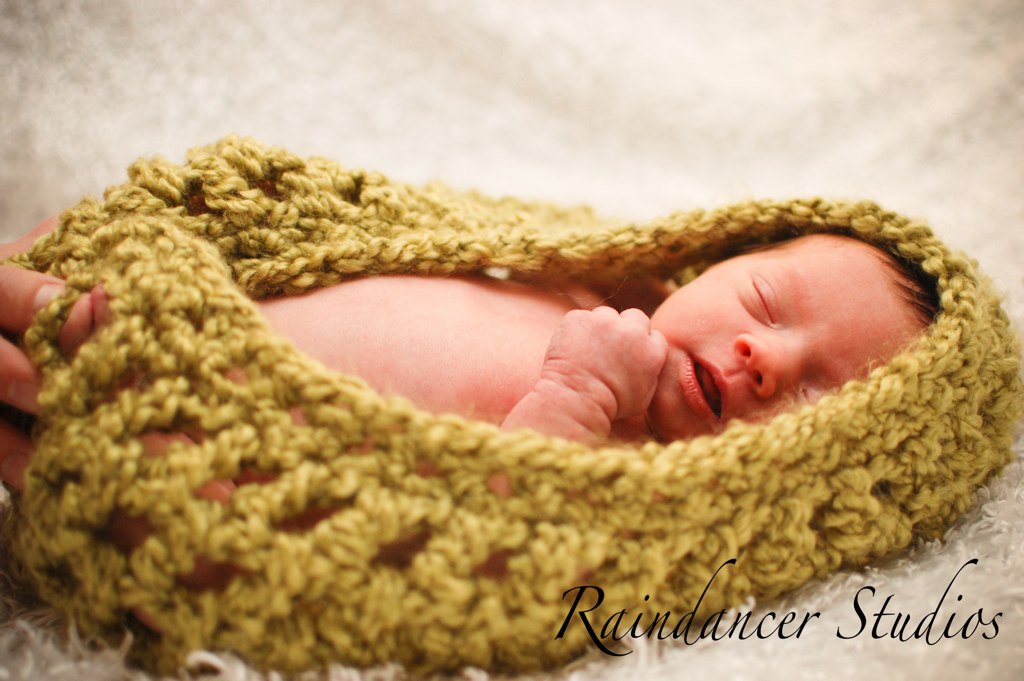
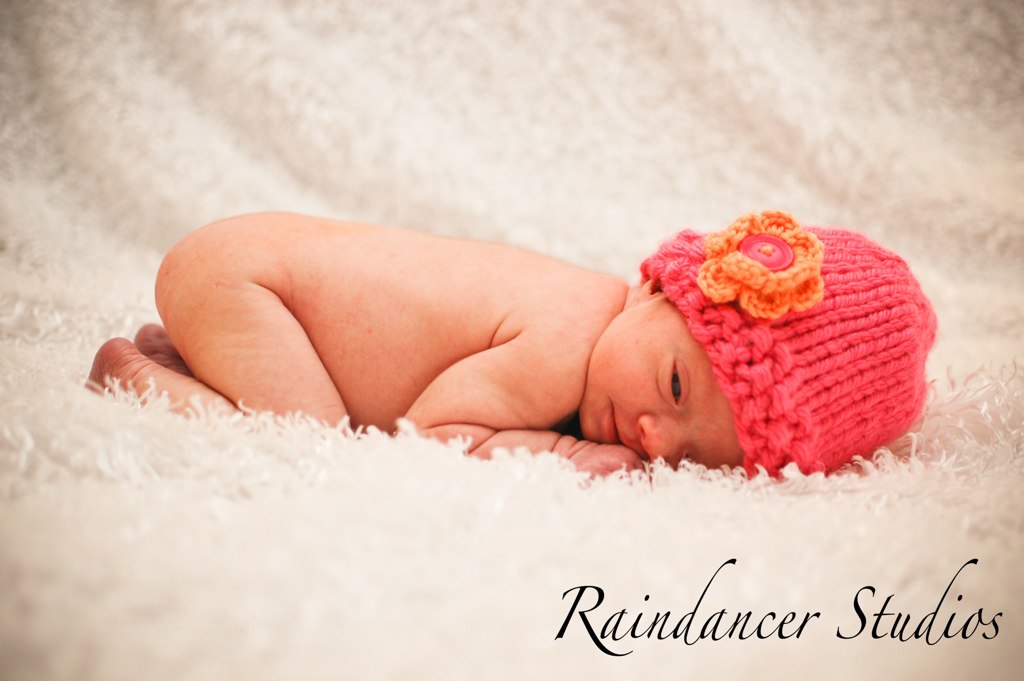
Below are a few of the photos that Jill has taken using Knits and Knots props :)
Jill Reid is one of the people I most admire. Her family suffered a tragic accident in 2008 that left them with no income and lots of hospital bills. Through it all, she had the support of family, friends, and her faith; and in 2009, at the urging of her supporters, she decided to turn her love for photography into a way she could support her family. She says "God inspired me through this season to look deeper for beauty and goodness in the midst of pain and struggle. The following quote has been my mantra for 2008 and 2009 and the very thing God has used to keep my heart soft and open: 'Life is not about waiting for the storm to pass. It’s about learning to dance in the rain.' Photography reminds me to see beauty amidst the ashes...to dance in the rain."
Jill has an amazing ability to photograph the spontaneous interactions of a family in a way that beautifully captures the love they have for one another. She is constantly trying new things and always surprising her customers with the outcome! If you're in the Indianapolis area and looking for a family, newborn, or maternity photographer, consider Raindancer Studios. I am certain you won't be disappointed!
Below are a few of the photos that Jill has taken using Knits and Knots props :)
Friday, May 7, 2010
Birthday for a Boy
The kids were invited to a Star Wars themed birthday party tonight. I knew the 5 year old we would be celebrating loved all things Star Wars (hence said party theme), but I also knew his mom appreciated handmade goods (she's ordered things from me in the past). I thought maybe we could compromise by purchasing the birthday boy something Star Wars related, and make him something to go along with it. The only problem was I couldn't think of anything to make that was in any way space themed that I could get done in less than 24 hrs, which is about how long I give myself to think about gifts for kids birthday parties... whoops! So instead I made something I'd been wanting to for a while - bean bags!
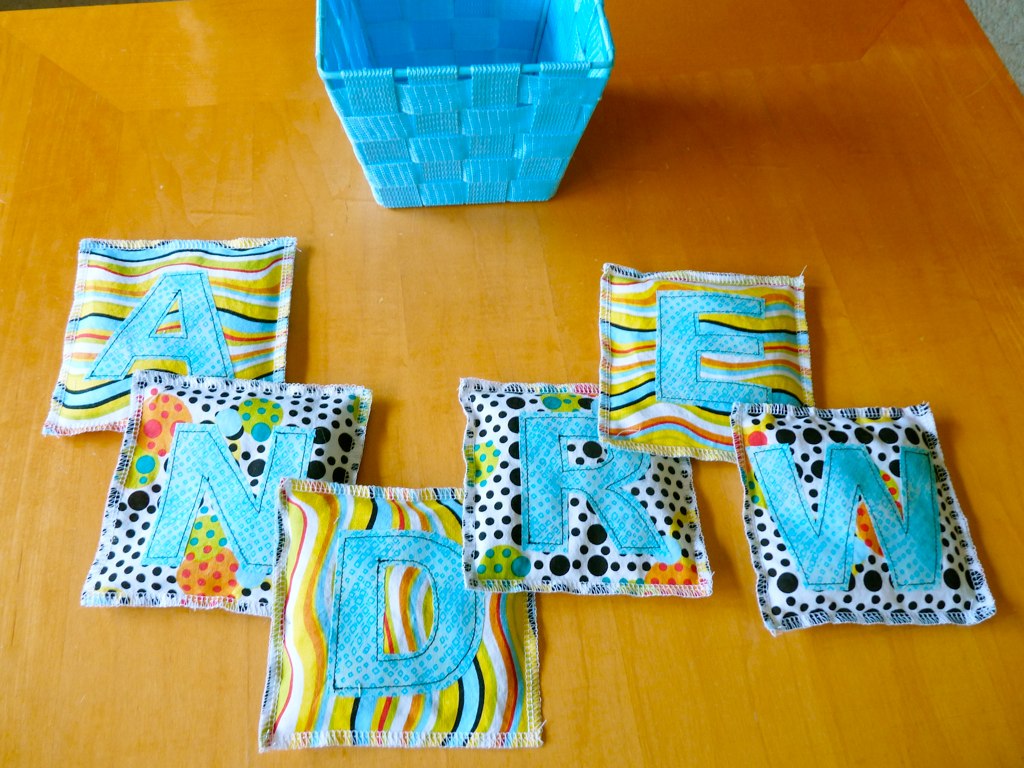
I have seen multiple sets of beanbags around the internet (easy tutorial here), and thought they looked like such a fun and easy project. Now it just so happens I got a serger for an early Mother's Day gift (woo hoo!) and have been trying to think of reasons to use it. I figured serging the seams instead of straight stitching and turning would save time and give me a chance to play with my new toy! We decided to spell out the birthday boy's name since it was a great even number of letters - 6.
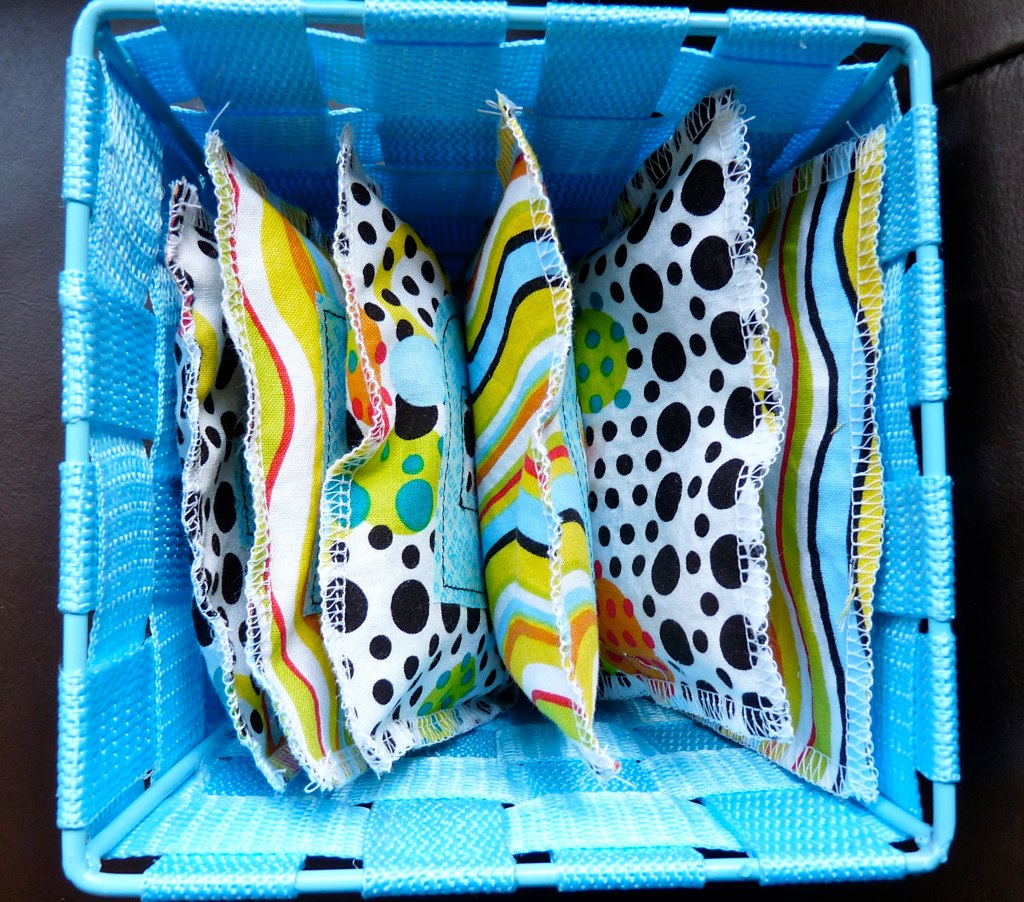
I used 2 different fabrics for the bags, cutting out 6 5"x5" squares of each. I cut the letters out of an almost solid blue and used Steam-A-Seam2 (sheets of fusible webbing) to secure it on the right side of each of 6 squares of fabric, alternating between the stripes and dots. I straight stitched around the letters to be certain they would stay firmly attached to the bags. Then I simply placed the squares wrong sides together, serged 3 of the 4 sides, filled it with beans (black-eyed peas, to be exact) and serged up the final edge. My son picked out a cute basket at JoAnn that was just the right size to hold the bags and will make a fun place to throw them in!
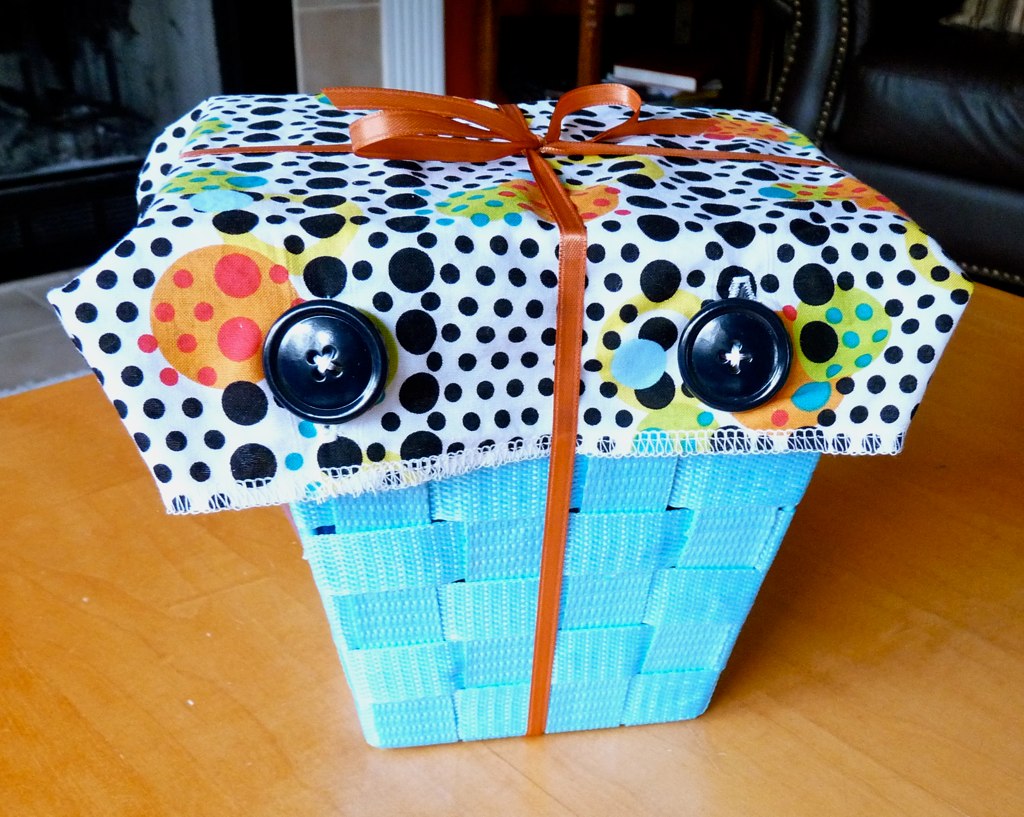
Now if you've even gotten a gift from me, you will probably know that I rarely use wrapping paper. I had seen on a blog somewhere the idea to use fabric to wrap gifts, and I thought that was such a cute idea! The basket looked great on its own, but was no where big enough to hold the Lego Star Wars set my son had picked out for a gift. I had a large section of the dot material left over, so I doubled it over, right sides together serged up the two sides, turned it right-side out and serged around the open end (yes, I know, probably more serging than was necessary, but c'mon, its a new toy!).
Then I used my trusty Brother sewing machine to sew some button holes and put on some buttons and, voila! a reusable gift bag that matched the rest of the gift :)
We tied the whole thing together with ribbon, tucked in a card, and headed out to a great evening with friends.
I have seen multiple sets of beanbags around the internet (easy tutorial here), and thought they looked like such a fun and easy project. Now it just so happens I got a serger for an early Mother's Day gift (woo hoo!) and have been trying to think of reasons to use it. I figured serging the seams instead of straight stitching and turning would save time and give me a chance to play with my new toy! We decided to spell out the birthday boy's name since it was a great even number of letters - 6.
I used 2 different fabrics for the bags, cutting out 6 5"x5" squares of each. I cut the letters out of an almost solid blue and used Steam-A-Seam2 (sheets of fusible webbing) to secure it on the right side of each of 6 squares of fabric, alternating between the stripes and dots. I straight stitched around the letters to be certain they would stay firmly attached to the bags. Then I simply placed the squares wrong sides together, serged 3 of the 4 sides, filled it with beans (black-eyed peas, to be exact) and serged up the final edge. My son picked out a cute basket at JoAnn that was just the right size to hold the bags and will make a fun place to throw them in!
Now if you've even gotten a gift from me, you will probably know that I rarely use wrapping paper. I had seen on a blog somewhere the idea to use fabric to wrap gifts, and I thought that was such a cute idea! The basket looked great on its own, but was no where big enough to hold the Lego Star Wars set my son had picked out for a gift. I had a large section of the dot material left over, so I doubled it over, right sides together serged up the two sides, turned it right-side out and serged around the open end (yes, I know, probably more serging than was necessary, but c'mon, its a new toy!).
Then I used my trusty Brother sewing machine to sew some button holes and put on some buttons and, voila! a reusable gift bag that matched the rest of the gift :)
We tied the whole thing together with ribbon, tucked in a card, and headed out to a great evening with friends.
Subscribe to:
Posts (Atom)