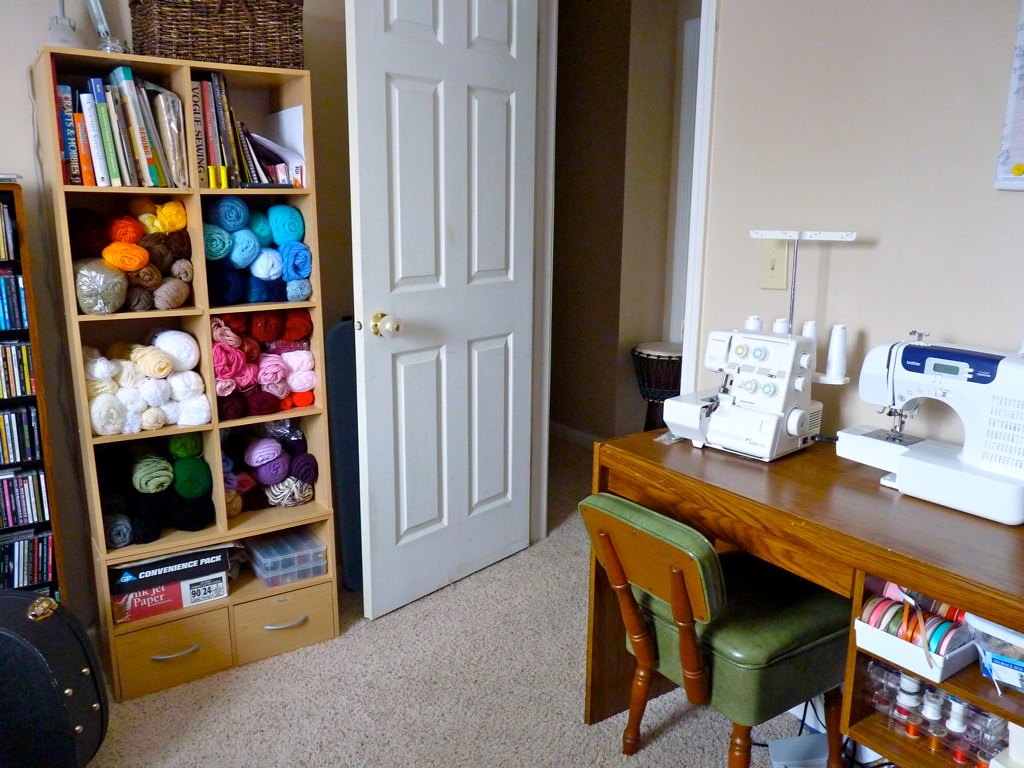
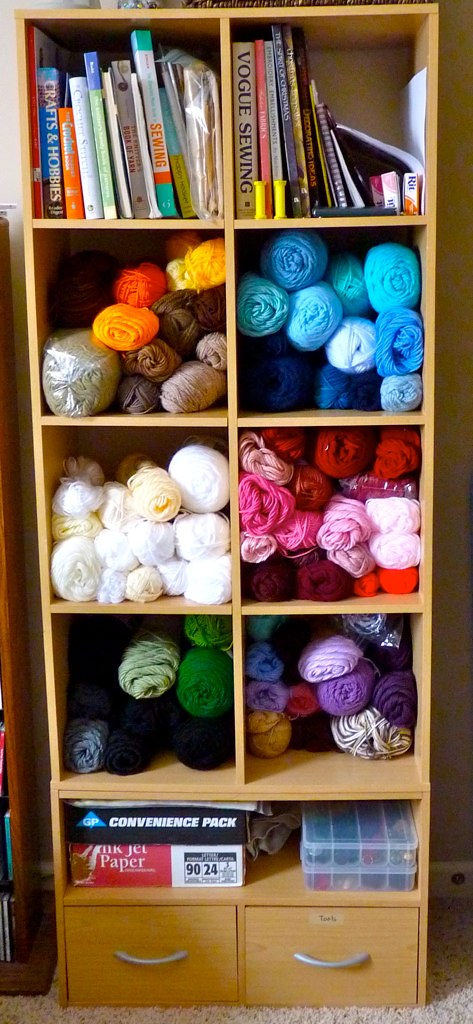
is this not a beautiful sight?!
Sunday, December 19, 2010
The Gift of Organization
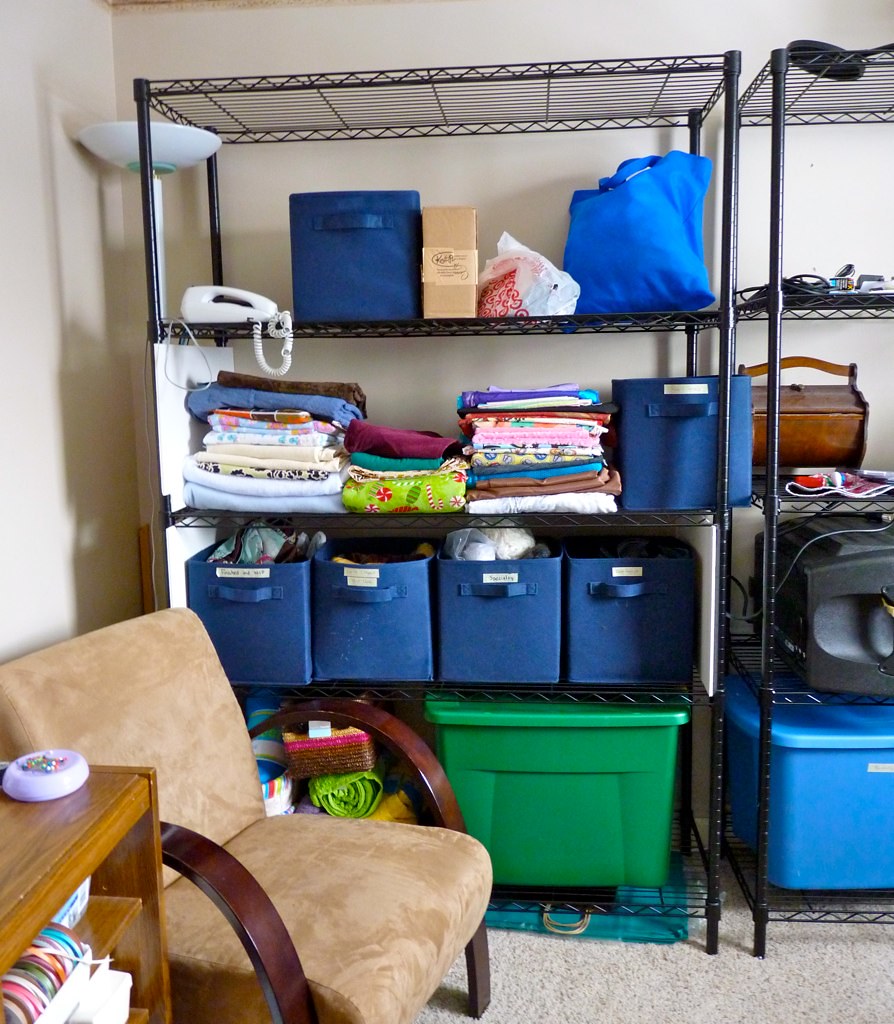
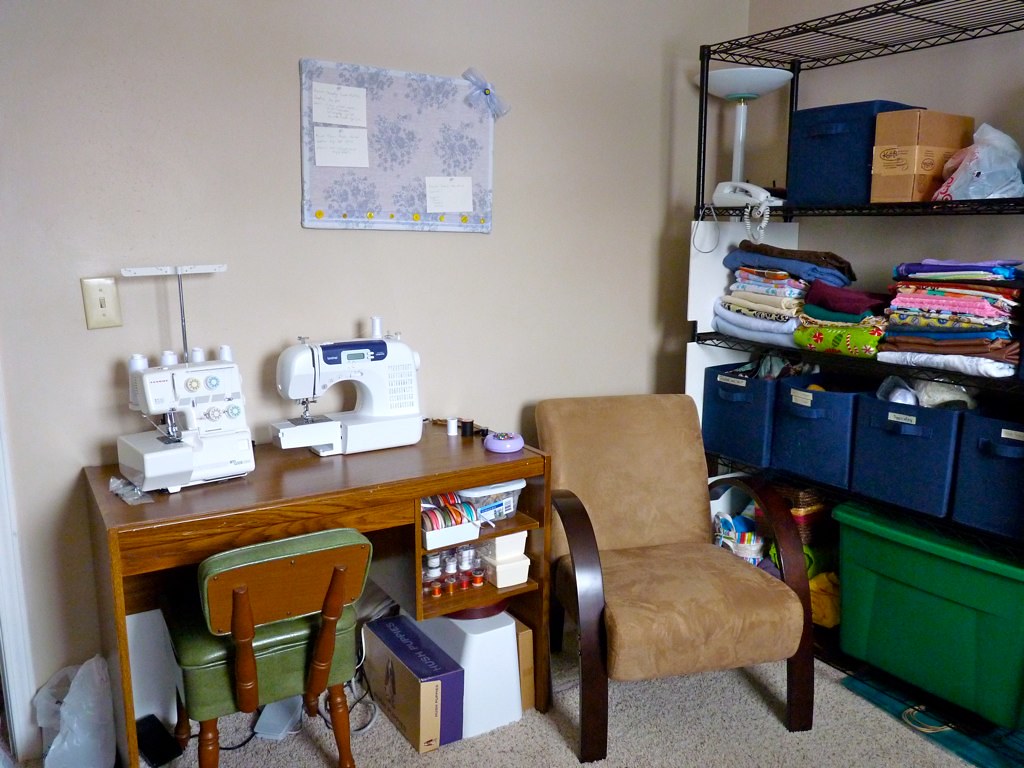
My husband gave me a wonderful early Christmas gift this year - the gift of organization. Matt and I created space in our house for our grown-up hobbies about a year ago. As Knits and Knots has grown as a business, or original organizational scheme for this room descended into utter chaos! I couldn't possibly fit all of the yarn I was accumulating from various projects into the shelves I had available, and fabric was piling up on top of the bins used for storage. I rarely knew what I had and couldn't find things I really needed. It would literally take me about 20 minutes to gather materials I needed simply because I had to unstack all the bins, search through to find the item I wanted, restack the bins, and pray nothing came toppling down on me! My husband was having some similar difficulty as it would take him as long to set up his recording equipment as it would to record a song, only to have to tear it all down again in order for the room to be useful for other activities. After talking it through with Matt he suggested we purchase some industrial strength shelves and line one of the walls. I bought the shelves about a month ago, and promptly put them together. Fast forward 3 weeks and 2 rounds of a stomach virus and I finally found the time to organize yesterday. I am SO HAPPY with it. I can see what fabrics I have available; I can walk through the room without tripping over bags of material; I know whether or not I have that one specific color of yarn I need for that last-minute project. It is fabulous! I have seen other crafty bloggers talk about their "studio" and I never thought I would have one of my own. However, with this step I feel like Knits and Knots has taken a huge leap ahead and I could claim this room as my very own studio. I don't mind sharing the space and letting it be my husband's recording studio as well - now he needs a chance to organize that side of the room :)
Monday, December 6, 2010
Coffee Cup Wrap
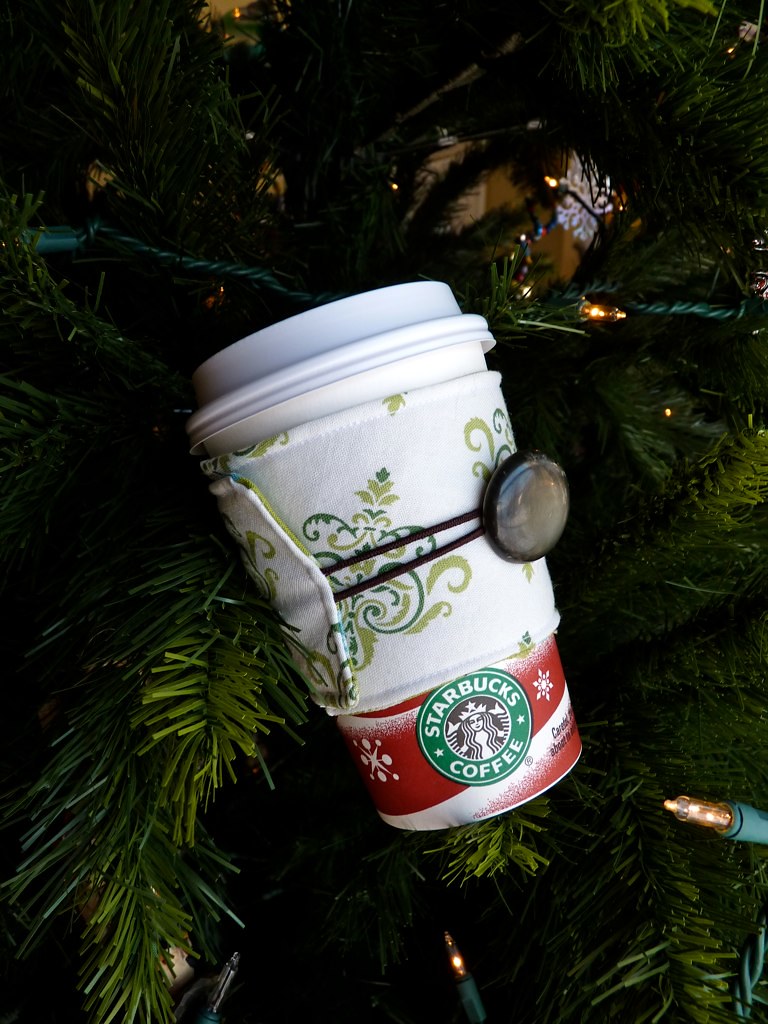
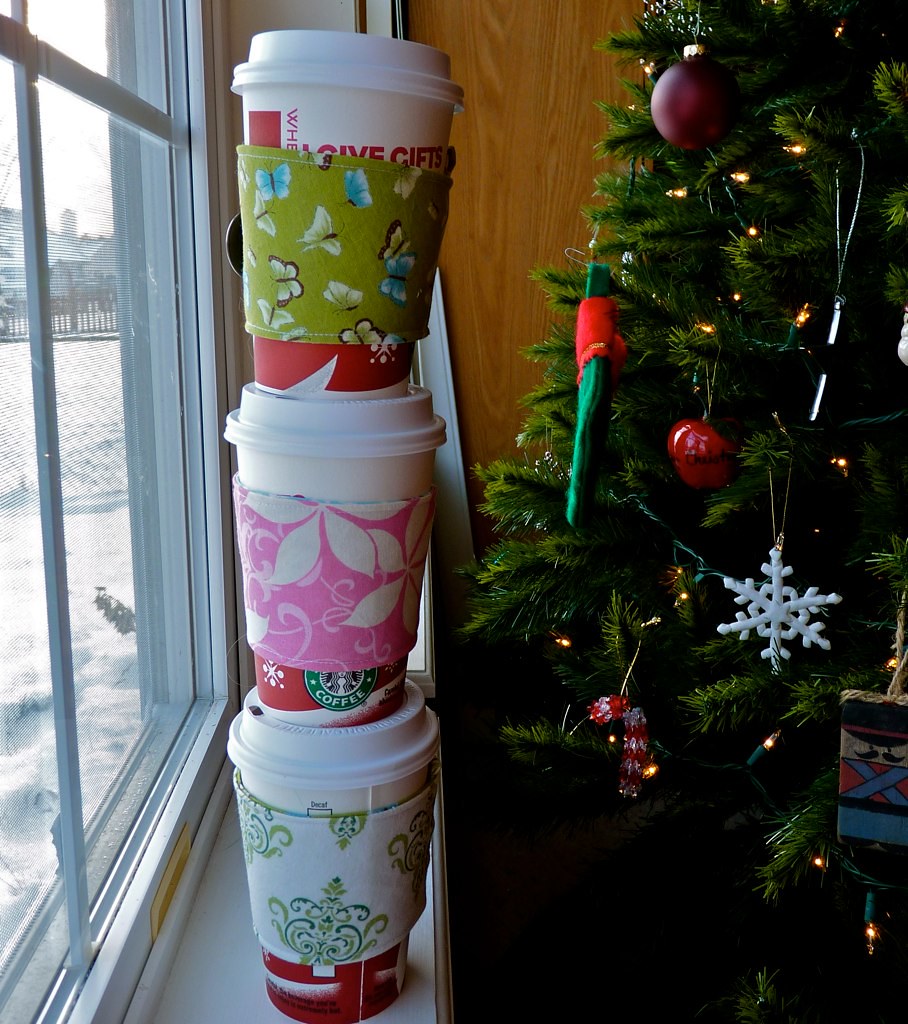
Along with the Beaded Christmas Tree Keychain that my kids made for their teachers, we are also giving them a giftcard to Starbucks and a reusable coffee cup wrap.
For the wrap I followed this pattern, substituting a bit of thin quilt batting for the fusible interfacing and an unused hairband for the elastic.
I love how simple this project is, and its a great way to use up scraps!
For the wrap I followed this pattern, substituting a bit of thin quilt batting for the fusible interfacing and an unused hairband for the elastic.
I love how simple this project is, and its a great way to use up scraps!
Tuesday, November 30, 2010
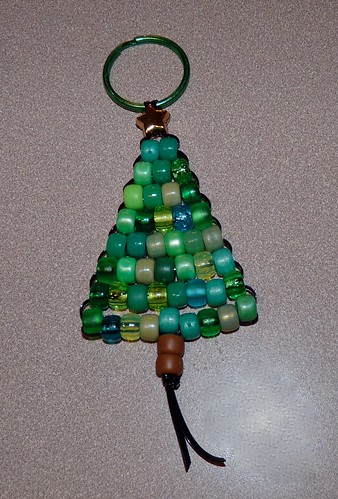
Beaded Christmas Tree Keychain
My kids and I worked on a project for their teachers' Christmas presents today and I thought I'd share a quick tutorial with you. This little keychain is quick and easy to make and requires only a few materials.
Materials: (for each keychain)
1 Keychain ring
1.5 yards flat plastic lacing or satin cord
1 star bead
2 brown pony beads
44 green pony beads
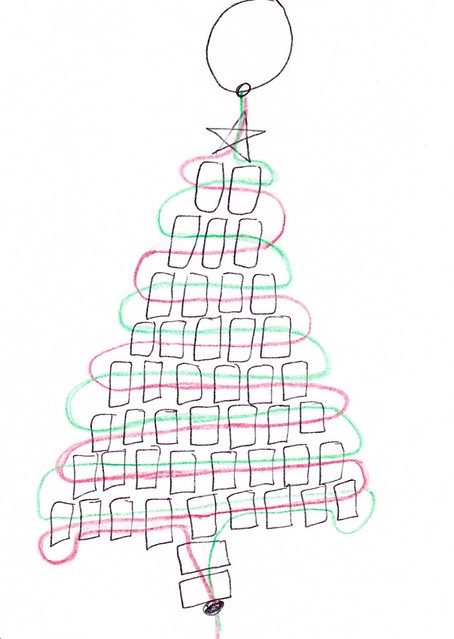
Start by folding the cord/lacing in half and attach it to your keychain using a lark's head knot (see this link for more info: http://www.ehow.com/how_13480_make-larks-head.html). I drew a quick diagram of how to string the beads but following that I will write out an explanation to the best of my ability! I didn't take pictures of the progress, but hopefully it will make sense. The two colors (red and green) represent the two free ends of the cord/lacing once its been attached to the keychain ring.
Row 1: String both free ends through the star bead.
Row 2: String 2 green beads on one of the free ends (represented by the green line in the above diagram). Then insert the other free end (represented by the red line above) back through those two beads so that you have the green line sticking out of one side and the red line out of the other. Pull both free ends until the beads are tight against the star bead, being cautious not to pull too tight.
Row 3: String 3 green beads on one of the free ends and repeat as above.
Rows 4-8: Continue in this pattern, adding one extra bead per row.
Row 9: String 9 green beads on one of the free ends and repeat as above. When the beads have been pulled tight, take one of the free ends and, skipping the first bead, insert into the second third and 4th beads and pull out between 4th and 5th beads. Repeat on the other end. Pull the ends to tighten up the Christmas tree. String both free ends through two brown beads, pull tight, and tie several knots, making sure the knot is large enough to prevent the beads from slipping off.
I learned a little trick from knitting that actually paid off for our project. If you are using the plastic lacing you can help the project lay flat if it is getting bunched up by holding it in the steam from a boiling teapot. When the plastic is hot it will relax and you can pull and stretch it and lay it flat and when it cools it will stay much nicer. If it doesn't work the first time, try it again!
The Christmas tree is not the only project we've done, we also made penguins yesterday using this pattern with the addition of a row of blue "ice" below his feet. The projects are limitless. Using your imagination you could probably design something for any occasion. My 5 yr old had a bit of trouble doing this completely on her own, but my 6 1/2 yr old got the hang of it very quickly :)
Materials: (for each keychain)
1 Keychain ring
1.5 yards flat plastic lacing or satin cord
1 star bead
2 brown pony beads
44 green pony beads
Start by folding the cord/lacing in half and attach it to your keychain using a lark's head knot (see this link for more info: http://www.ehow.com/how_13480_make-larks-head.html). I drew a quick diagram of how to string the beads but following that I will write out an explanation to the best of my ability! I didn't take pictures of the progress, but hopefully it will make sense. The two colors (red and green) represent the two free ends of the cord/lacing once its been attached to the keychain ring.
Row 1: String both free ends through the star bead.
Row 2: String 2 green beads on one of the free ends (represented by the green line in the above diagram). Then insert the other free end (represented by the red line above) back through those two beads so that you have the green line sticking out of one side and the red line out of the other. Pull both free ends until the beads are tight against the star bead, being cautious not to pull too tight.
Row 3: String 3 green beads on one of the free ends and repeat as above.
Rows 4-8: Continue in this pattern, adding one extra bead per row.
Row 9: String 9 green beads on one of the free ends and repeat as above. When the beads have been pulled tight, take one of the free ends and, skipping the first bead, insert into the second third and 4th beads and pull out between 4th and 5th beads. Repeat on the other end. Pull the ends to tighten up the Christmas tree. String both free ends through two brown beads, pull tight, and tie several knots, making sure the knot is large enough to prevent the beads from slipping off.
I learned a little trick from knitting that actually paid off for our project. If you are using the plastic lacing you can help the project lay flat if it is getting bunched up by holding it in the steam from a boiling teapot. When the plastic is hot it will relax and you can pull and stretch it and lay it flat and when it cools it will stay much nicer. If it doesn't work the first time, try it again!
The Christmas tree is not the only project we've done, we also made penguins yesterday using this pattern with the addition of a row of blue "ice" below his feet. The projects are limitless. Using your imagination you could probably design something for any occasion. My 5 yr old had a bit of trouble doing this completely on her own, but my 6 1/2 yr old got the hang of it very quickly :)
Monday, November 22, 2010
Fishy Business
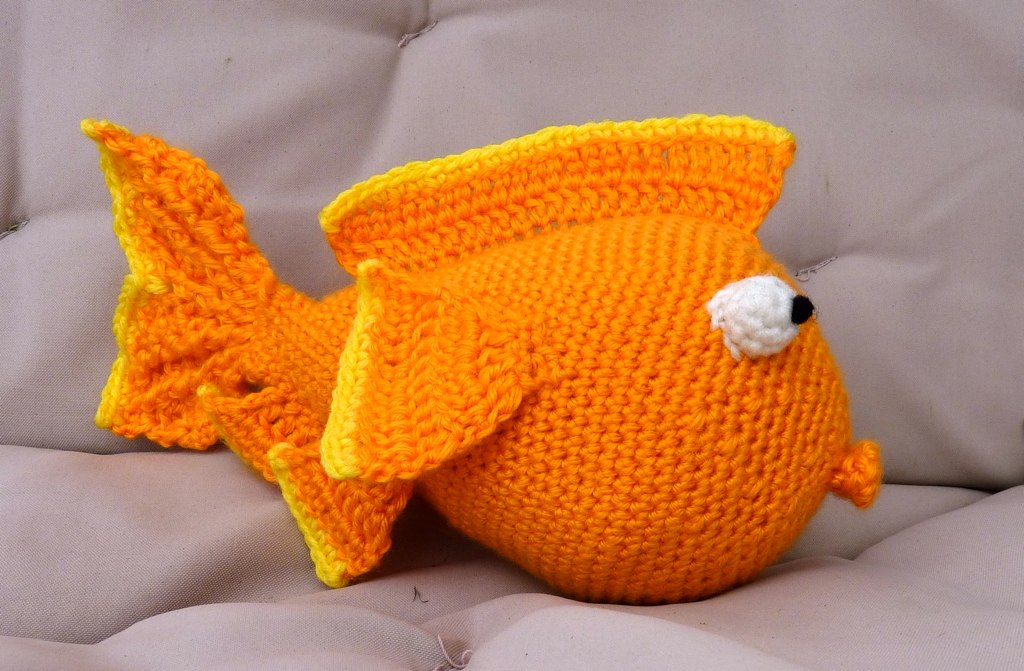
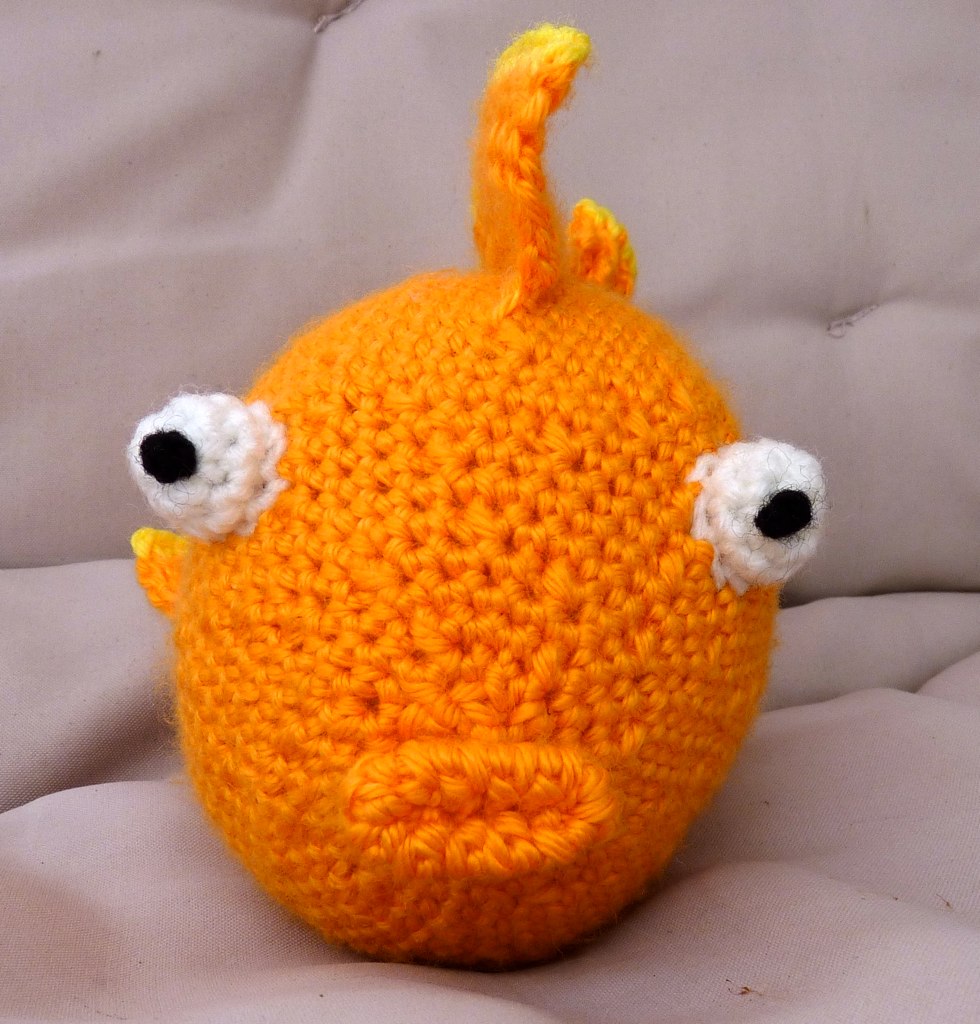
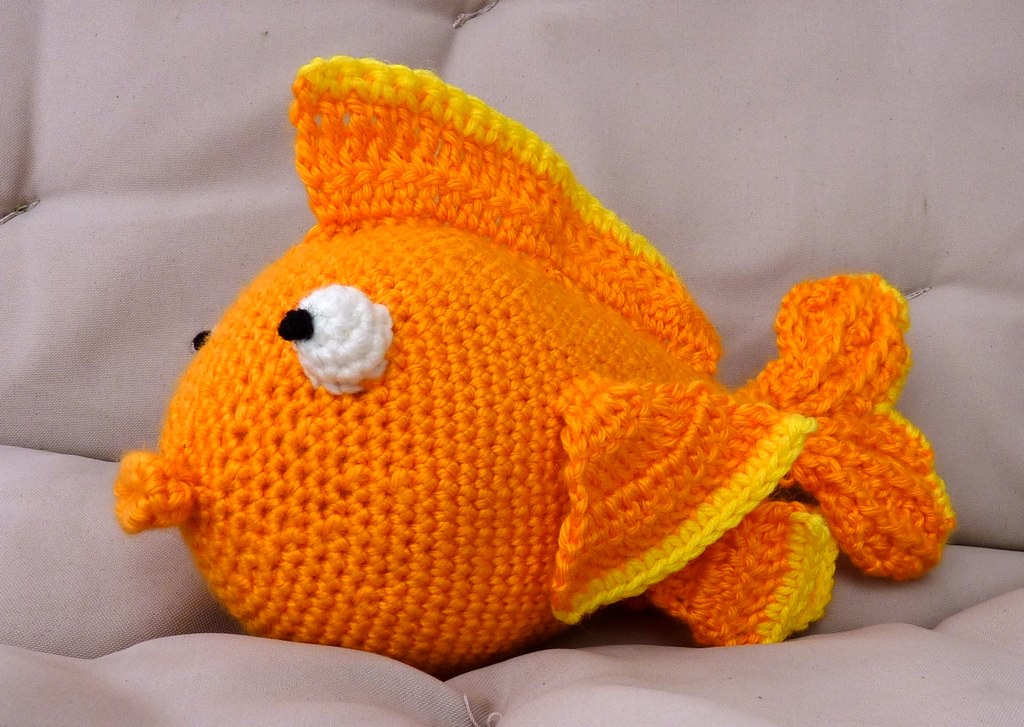
My son's best friend has a goldfish, Goldie. He is very fond of this fish, and to honor the beloved pet his mom asked me to make a goldfish stuffie for her son for Christmas.
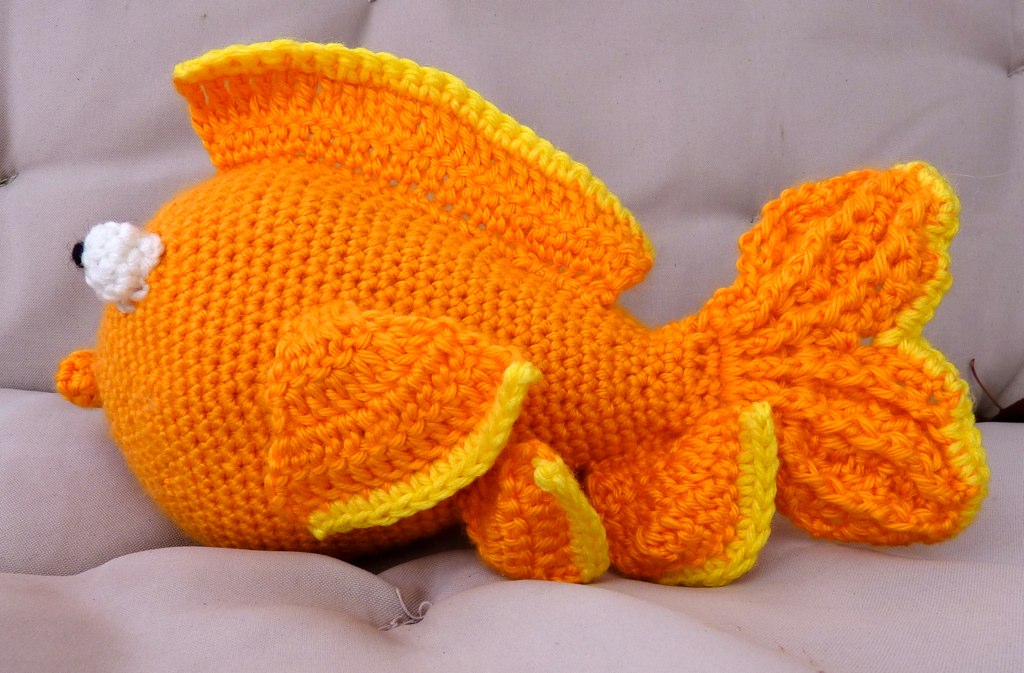
I couldn't find a pattern out there for a goldfish so I had to improvise. I had so much fun putting together this little guy - from the fishy shaped body, to the ribbed tail and multiple fins, to the bulging fishy eyes!
I'm really happy with how he turned out! and the addition of the smooching fish lips as suggested by the client really pulled it all together. I'm sure this will be a much better playmate than the real thing :)
I couldn't find a pattern out there for a goldfish so I had to improvise. I had so much fun putting together this little guy - from the fishy shaped body, to the ribbed tail and multiple fins, to the bulging fishy eyes!
I'm really happy with how he turned out! and the addition of the smooching fish lips as suggested by the client really pulled it all together. I'm sure this will be a much better playmate than the real thing :)
Friday, November 12, 2010
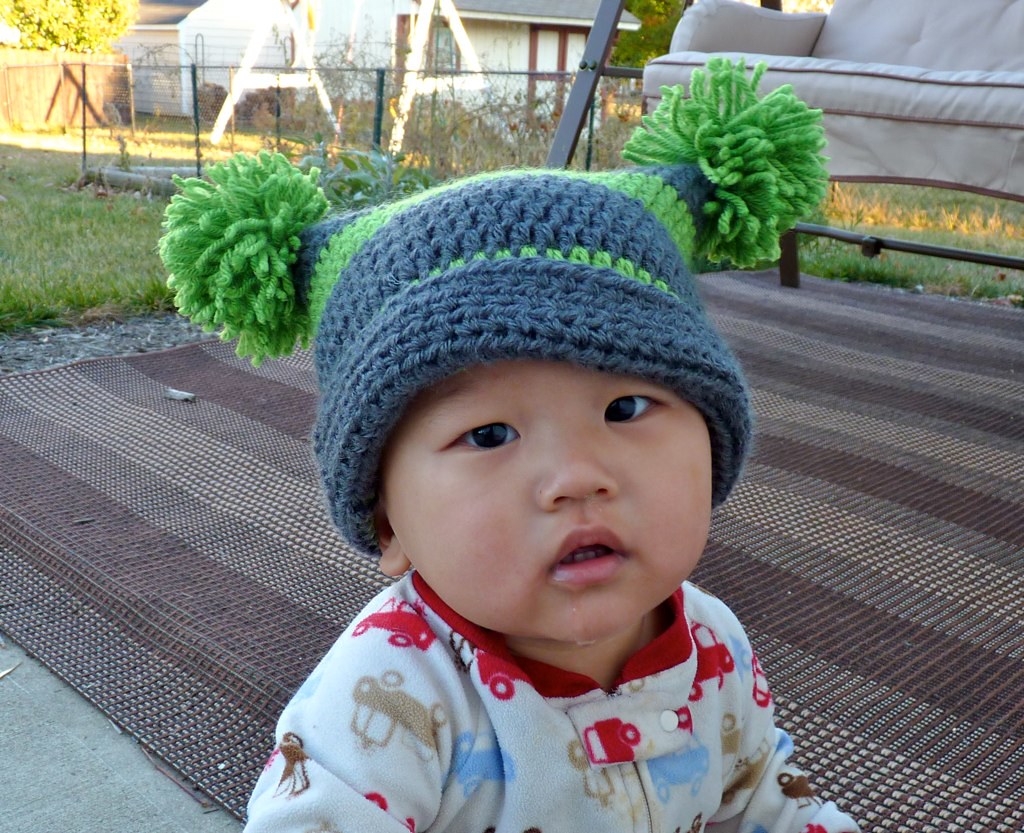
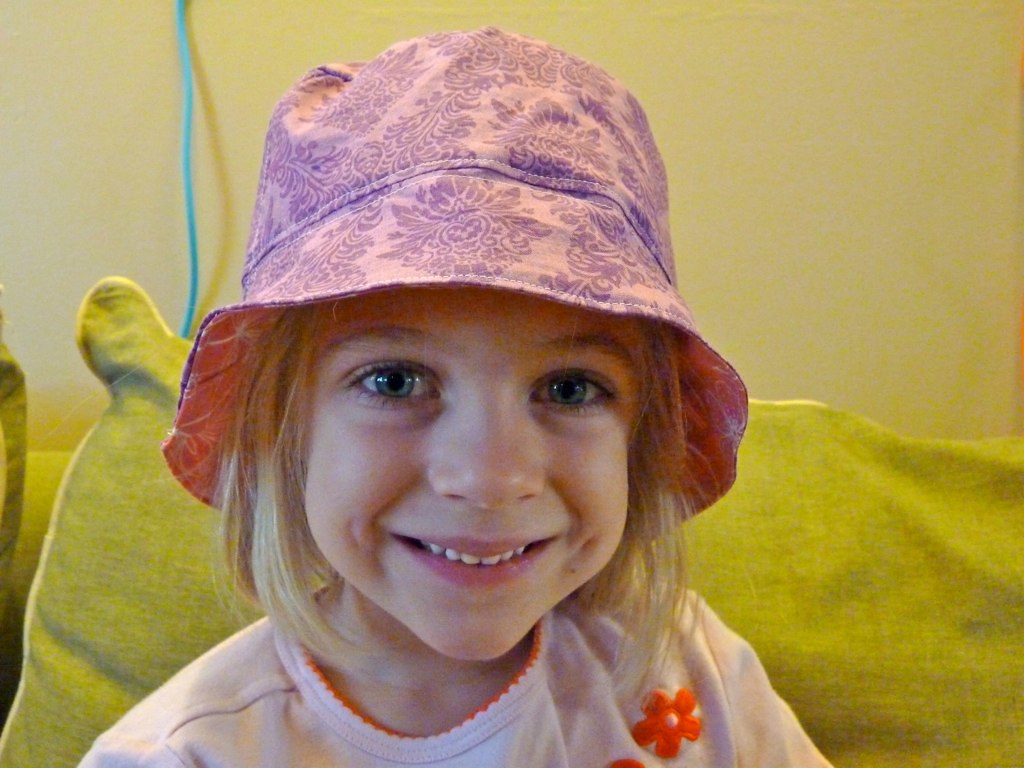
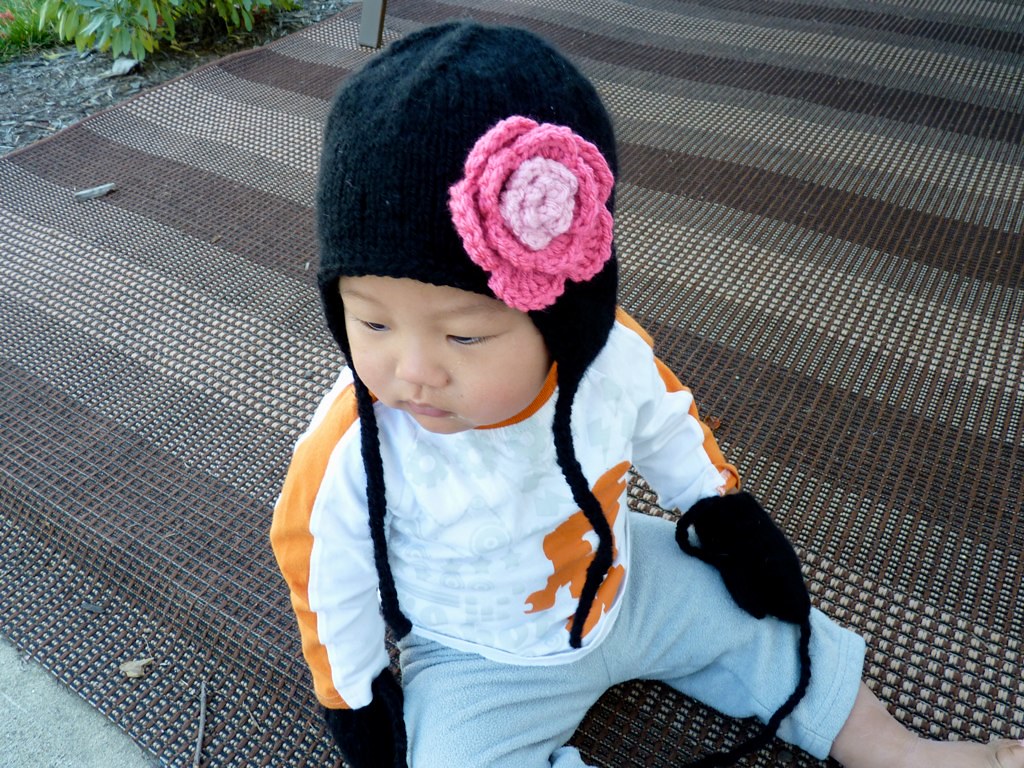
Lots O' Hats!
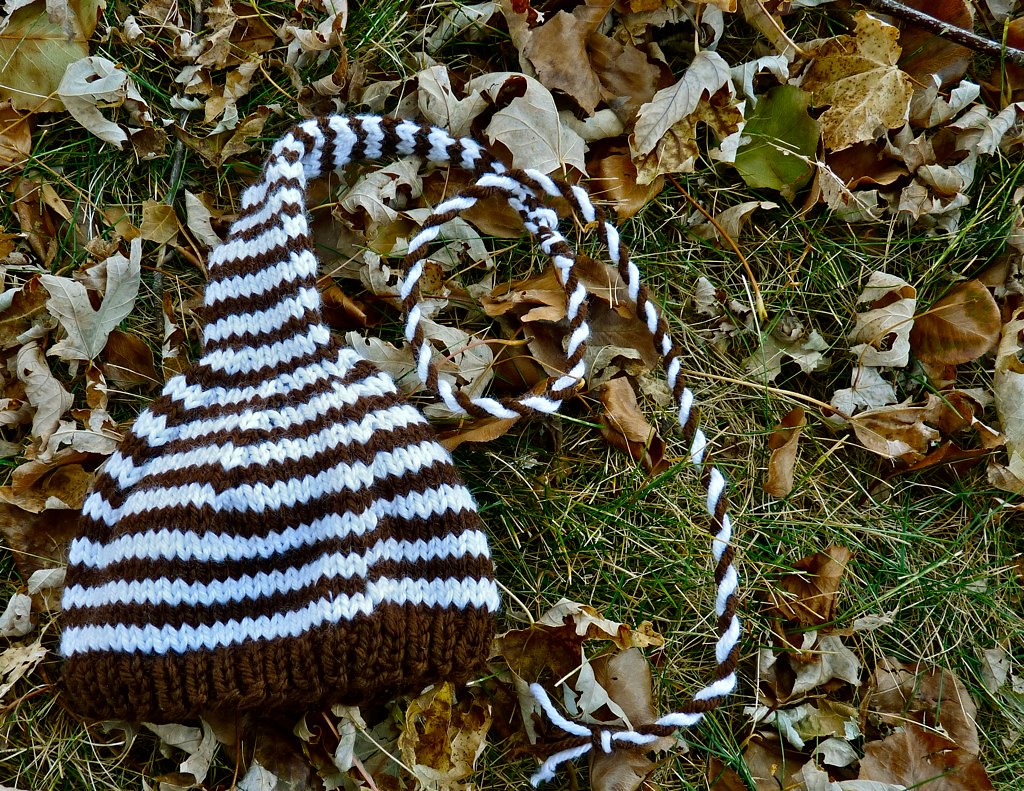
In fall everyone's looking for a good hat to keep their little ones' ears toasty. I've had a variety of different orders lately with lots of fun colors! I'm pretty lucky to have several in-home hat models to test out my sizing on, and to just enjoy the cuteness of these little toppers :)
Sunday, November 7, 2010
Owl Hat
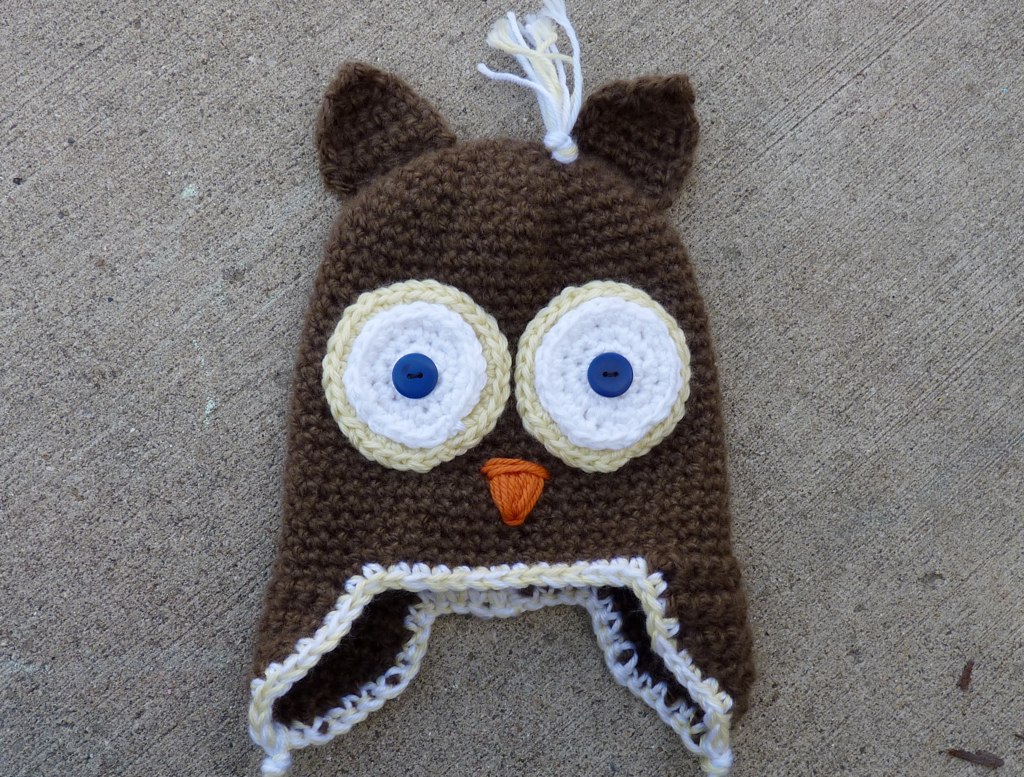
I recently had a request for an owl hat to be used as part of a little boy's Halloween costume. I thought the idea was brilliant, and couldn't believe I hadn't done something similar for one of my own children in the past! Looking on Etsy I found a super cute pattern that allowed the user to sell items made from the pattern (not always true!). While the pattern wasn't as thorough as I am used to I was able to complete the hat and make it look just like the example. I was thrilled with how it came out! It was made with a bulky yarn and is super soft and should be VERY warm, which is good since it was so cold at Halloween this year :)
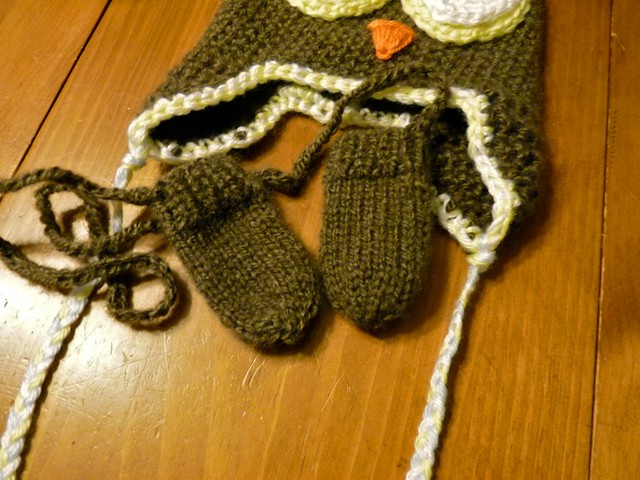
The customer also requested some mittens made from matching yarn. We chose to go with a thumbless mitt because of the age of the baby, and it had a connecting cord to keep those little mitts from getting lost when baby inevitably pulls them off!
Friday, October 8, 2010
Cold Season
Its that season. The time of year where a warm sweater and hat are necessary in the morning, but by afternoon you wish you were in shorts! I pulled out all of my kids winter wear this past weekend and thoroughly enjoyed watching them wear things I've made for them. I realized this week that my oldest son has nowhere near enough handknits. I guess I can add that to my Christmas list!
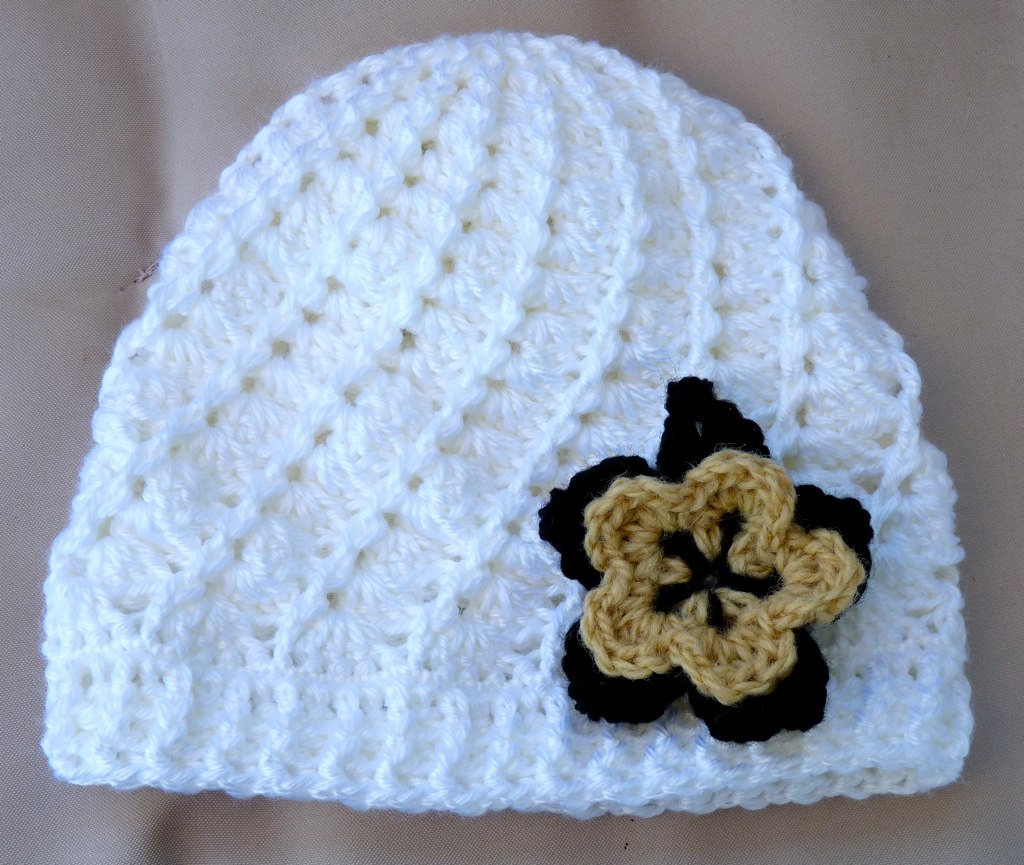
If you missed it, last week I did a brief giveaway on the Knits and Knots Facebook page. Here's the first of the winning hats. Its the ever popular Divine Hat with a special Saints black and gold flower. The winner lives in Louisiana and requested a hat her daughter could wear to celebrate her favorite team for football season :)
Subscribe to:
Posts (Atom)